Showing posts with label baking. Show all posts

Monday, July 27, 2015

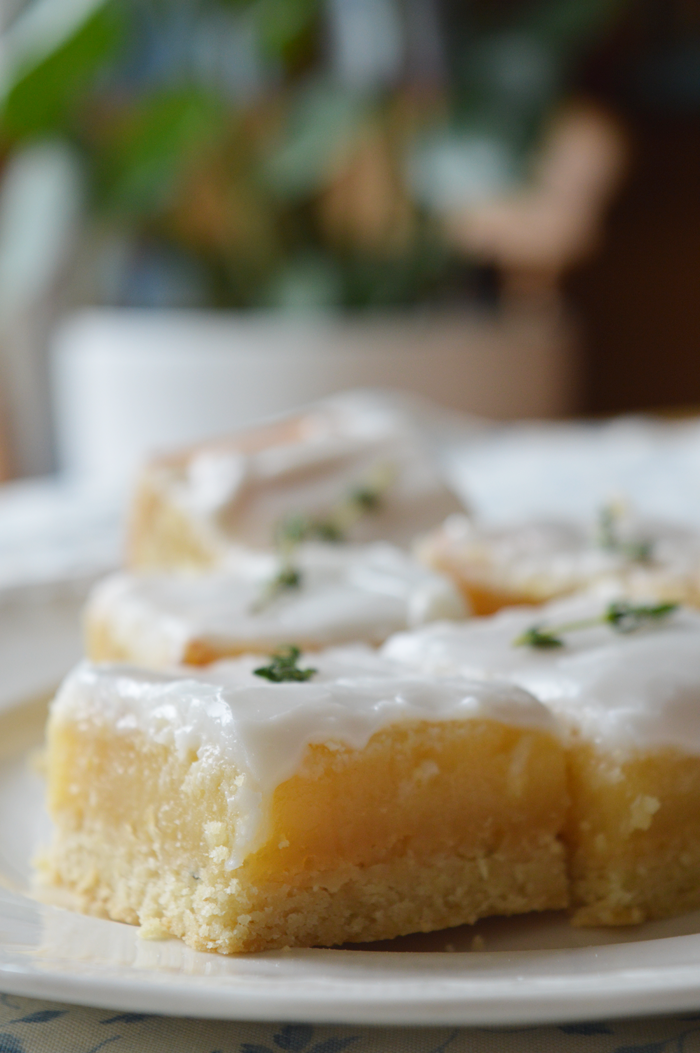
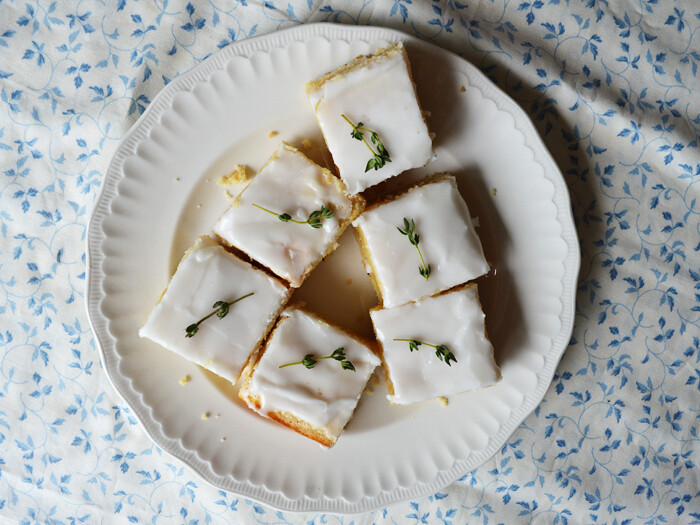
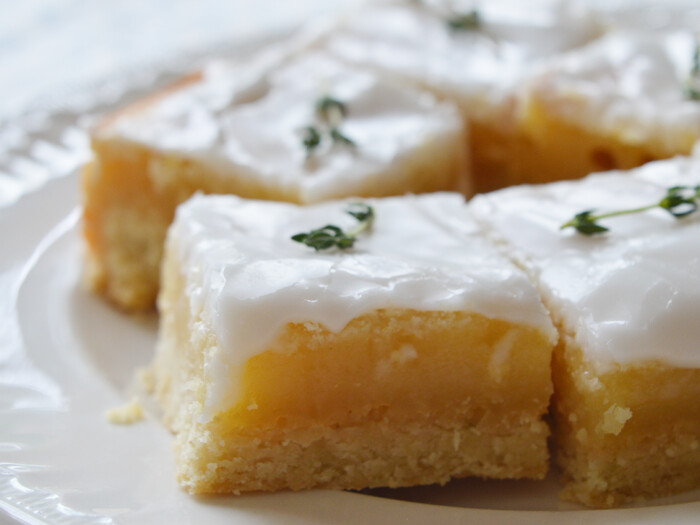
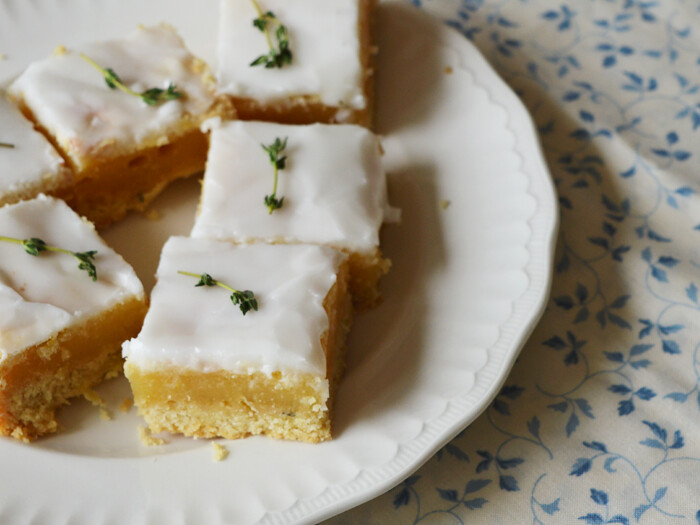
recipe: lemon and thyme bars

I find it interesting how your tastes change as you get older. The twenty-five (ew) year old me lives for the sharpness of lemons, the tang of olives, the acidic taste of white wine, and the bitterness of black coffee; all things that the eighteen year old me would have turned her nose up at. At eighteen, I wouldn't have gone near a gin and tonic with a twist of lemon, last night found my hunting the cupboards because I couldn't find any gin!

It is weird that now I am twenty-five I think that the bittersweet taste of a lemon perfectly sums up summer. It reminds me of drinking cloudy lemonade outside on hot days, of squirting it on fresh cooked fish, and eating lemon ice-lollies.

Anyway, when this unsuspecting little recipe popped up on Pinterest the other week, when we were having that amazingly hot weather, I ran out as quickly as I could and bought a batch of lemons... I did not regret it. 

lemon and thyme bars


For the recipe, keep reading;

Saturday, May 16, 2015

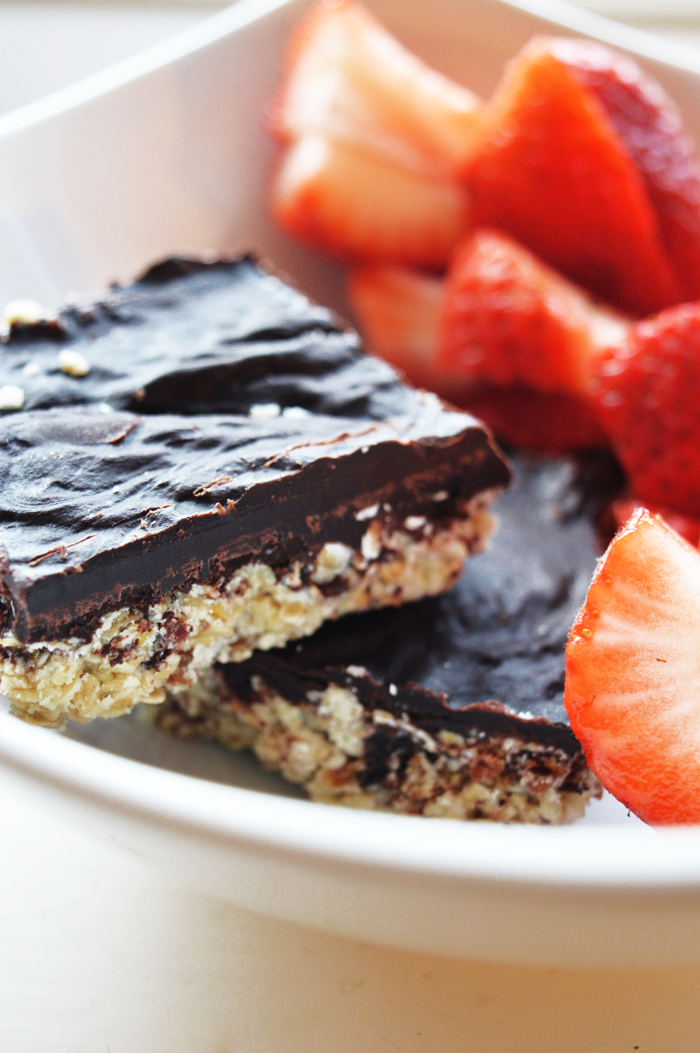
as close to clean as it gets: raw vegan chocolate bars

I've discovered my new favourite treats, and they're these delicious little bars. They feel like a cross between a flapjack, tiffin or caramel shortbread - but they're nowhere near as decadent as that! 

sugar free clean eating treats

For more pictures and the recipe, keep reading;

Wednesday, April 22, 2015

Super easy seasonal iced biscuits!

If you're blogger, you should remember to post your content when it's most relevant, really, shouldn't you? Like, who wants a Christmas gift-guide on the 24 December? Anyway, I'm being a shit blogger, because I completely forgot to post my Easter biscuits, and now Easter is almost a month behind us, but hey-ho, I'm showing you them anyway, because they look goddamn adorable, I think.
My mum called me on Good Friday and showed me the biscuits she'd made, asking if she wanted me to help ice them... Who am I to resist?! 

easter biscuits
easter biscuits

The recipe for the biscuits itself, I can take no credit for - my mother made them, and I only iced them! But she reliable informed me that the recipe she used was this one from The Pink Whisk and they tasted amazing when baked to perfection. She also tells me that she used vanilla powder in place of vanilla essence! 
INGREDIENTS AND EQUIPMENT:
- 1 pack of Royal Icing or Icing Sugar
- Water at room temperature
- Several piping bags (or sandwich/food bags if you're cheap like me haha)
- Several small bowls and teaspoons
- Food colouring
- Cocktail sticks
1. Mix the icing to the instructions on the packet, depending on what brand you use, most of them will tell you how much water to add to the icing sugar. We measured out the water and then added it until I got the consistency I wanted. At this point, you want the icing to be quite thick, thick enough that you can pipe it and it will hold it's shape.
2. Split the mixture between bowls evenly, and add the colouring. For pastel colours, add a very small amount of the colouring, and mix well.
3. Spoon some of the thick icing into the piping bags (leaving some for flooding the biscuits) and pipe around the edge of the the biscuit shape to create an outline. For shapes like the eggs, pipe the desired design (like stripes or zig-zags).
4. Set aside and allow this outline to dry until solid and hard.
5. Add more water to the remaining icing in the bowls to create a more liquid consistency, it should run off the spoon with ease.
6. Using small teaspoons, add a small amount of the runny icing inside the outline you've already made.
7. To move the icing into the corners of the shape, tilt the biscuits or gently move with the back of a teaspoon. This is also where the cocktail sticks come in useful, to push the icing into awkward corners and to get rid of air-bubbles.
8. Allow to dry until completely hard.
These went down an absolute treat in our house, I must say! And there was not one child in sight, haha, but I imagine they would go down very well with kids. I think the yellow chicks and the blue bunnies were my favourites, and if you're interested, we got the biscuit cutters from Waitrose, they do a great selection of seasonal ones for Easter, Halloween, Christmas, etc.

Have you got a favourite biscuit recipe you go for?
- recipes -

easter biscuits
easter biscuits

Sunday, April 05, 2015

an easter weekend

I wasn't very well last night, woke up late, and wanted to just chill with my family - so I am forgoing my usual Weekend Wanderings posts, in favour of a mini run down of things that have made my weekend a good one...

easter biscuits

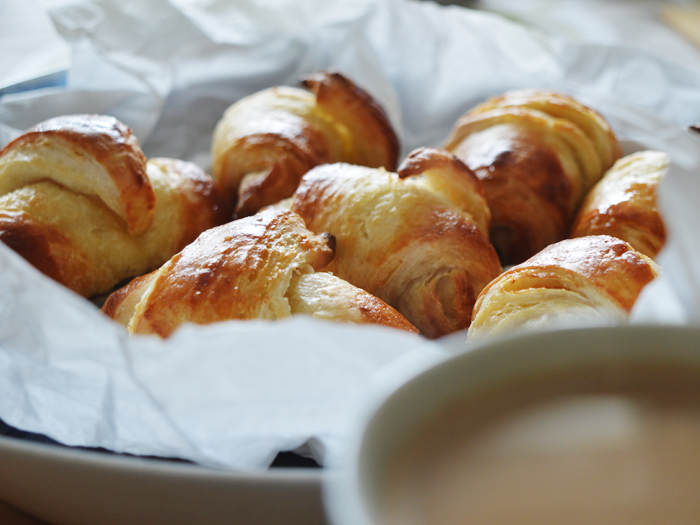
  • Eating freshly baked, homemade croissants, straight out of the oven, smothered with jam for a very late breakfast with my family. Accompanied by giant mugs of steaming hot coffee, 
  • Catching up with a friend and seeing the new Cinderella film - it's exactly what you expect from a Disney film, that saccharine twee-ness that sometimes you just need to zone out to when you've had a stressful week!
  • Enjoying the small pleasure of a lie-in - first bank holiday weekend I've had completely off (four day weekend!) in about 5 years. I used to get Easter Sunday off in my previous job, but usually worked the bank holidays either side...
  • Watching the garden come back to life a bit with the greenery, the blossom beginning to come out on the trees, and watching the pairs of blackbirds, goldfinches, blue-tits and collared doves that have made it their home (which all made me very happy).
  • Bunches of spring flowers in the house, daffodils in my bedroom, tulips and hyacinths in the living room. 
  • Spending an afternoon doing some Easter baking with my mum - decorating little biscuits and trying our hands at creme-egg brownies, too.  
  • A roast in the oven as we speak, preparing for a good roast later today.
  • And of course, a little pile of chocolate waiting for me this morning when I came downstairs - you're never too old for an chocolate rabbit, are you?
What are you up to this weekend? If it isn't stuffing your face with food, then I don't want to know! haha Hope you're all having a lovely time with or without your family, eating or not, spending time in the sunshine or curled up on the sofa watching Grease, I hope you have a nice long weekend. (:

HAPPY EASTER EVERYONE!

easter breakfast
easter flowers

Wednesday, April 01, 2015

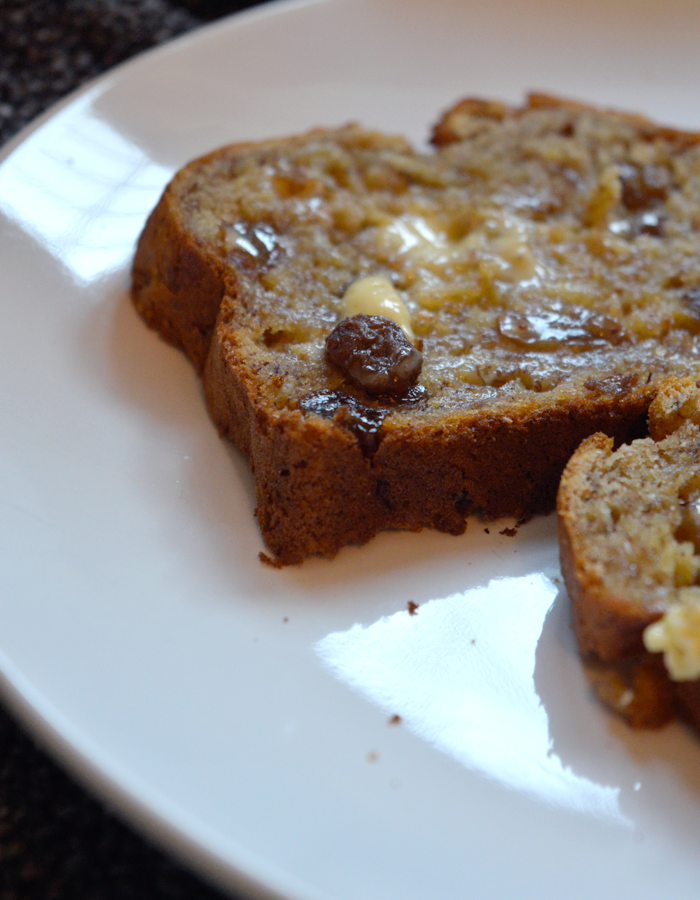
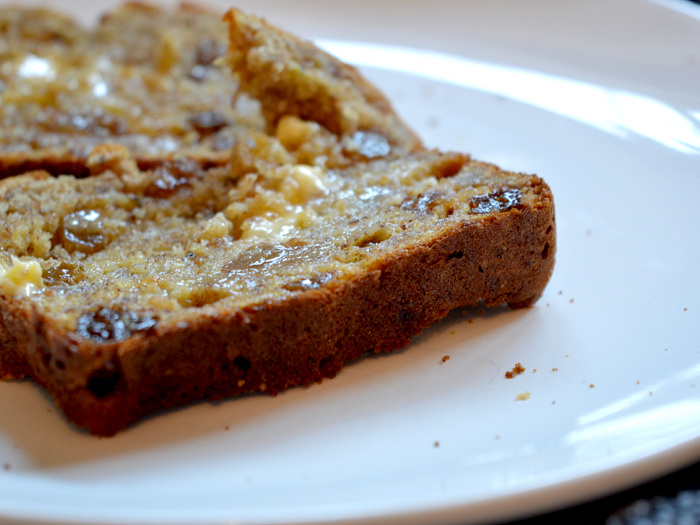
sugar-free banana bread recipe

I was recently talking to some bloggers about authenticity in blogging - and to cut a long story short, the way I would describe it is this; some bloggers tell you that they make a recipe, following it to the letter. They sieve the flour, let the eggs sit at room temperature over night, they use the five or six different bowls required, weigh everything to the the .99th of a gram, and never lick the spoon. I am not one of those bloggers. I admit to you, freely, that I never sieve my flour, create as little cleaning up as possible, and always lick the spoon (and before you start on about raw eggs, just pipe down). Basically, I know baking is a science, blah blah blah, but my mother was a chemist, and this is how she raised me. Mother knows best, and all.

This is all rather a long tangent, but I thought you'd like that little analogy, and I thought I would show you my most recent favourite 'throw it all in and shove it in the oven', recipe. Sugar-free banana bread! Banana-anything is my vice, I've heard tell of people that exist that don't like bananas, and I wonder how do you live? What do you put in smoothies? How do you fuel yourself before a run? What do you smother with cream and chocolate sauce and place on a waffle and tell yourself it is healthy because it has fruit in? I'm going off on a tangent again, aren't I? Onto the recipe.

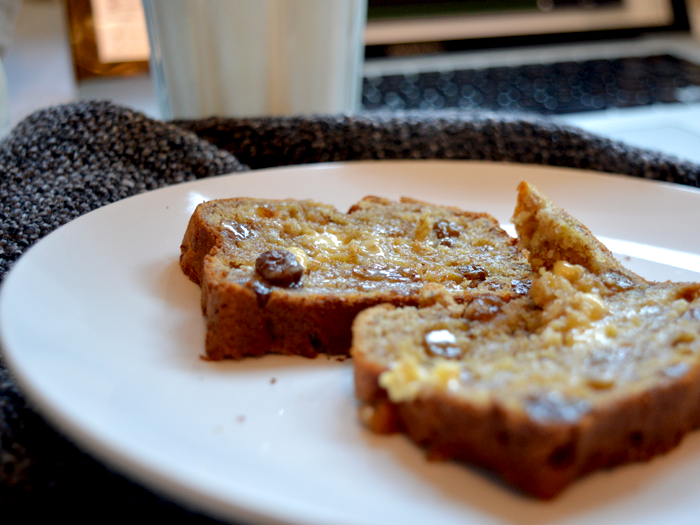
sugar free banana bread with wholemeal flour
INGREDIENTS:
- 125g self-raising wholemeal flour;
- 1/2 tsp baking powder,
- 2 tsp ground cinnamon;
- 75g sultanas;
- 50g butter, melted;
- 2 tsp vanilla essence;
- 1 egg;
- 1 tbsp milk;
- 3 ripe bananas, mashed.

1. Preheat the oven to 180C/160C fan/Gas mark 4. Grease and line a small tin with baking parchment.
2. In a large, microwavable bowl, melt your butter in the microwave. Add the vanilla essence, egg, milk and mashed banana.  Mix until everything is mixed together well.
3. Add in the dry ingredients (flour, baking powder, cinnamon) and sultanas and mix well with a wooden spoon.
4. Pour into the lined cake tin and bake for 30-40 minutes, or until a a skewer inserted into the centre comes out clean. Allow to cool in the tin and then turn out.

Adapted from this BBC Good Food recipe for banana cake (adapted in that their recipe was incredibly badly worded!).
A few notes about this little recipe, it only makes a small amount, but the cake itself is quite a dense one, so I find that I don't get through it very quickly, so don't be fooled into doubling the recipe (like I did once!) unless you've got a lot of people coming over. Obviously, you can also forgo the sultanas if you don't like them, but I place you people in the same category as those that don't like bananas: mad.
I find it's at it's peak when eaten warm from the oven with a bit of butter, or toasted for breakfast with a glass of milk. The brown flour takes some getting used to, but it leaves me feeling full and without that awkward bloated feeling that I get from eating white flour, so I'm pleased with that, too.
Essentially, this cake is really good I'm really pleased to have found this recipe, and its going in my repertoire for future use!

sugar free banana bread with wholemeal flour

Monday, March 02, 2015

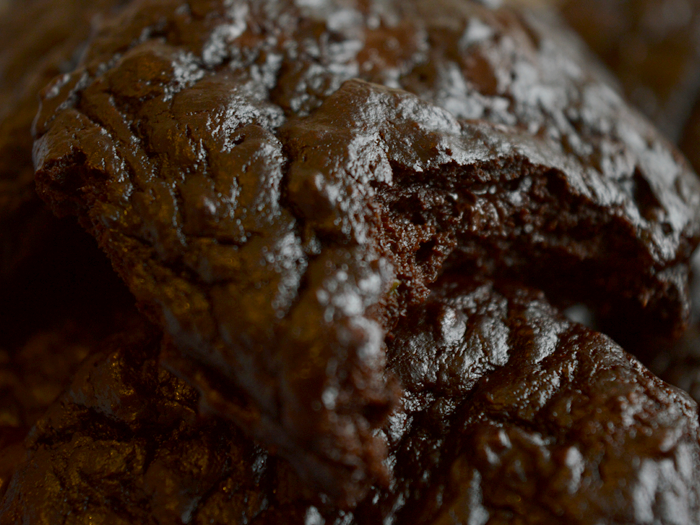
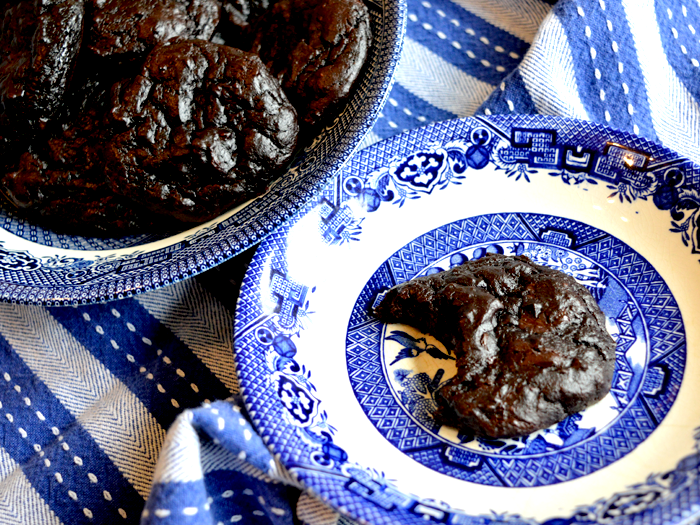
healthy choc-chip cookie alternative: avocado, banana + chocolate cookie recipe


As you may or may not know, I am trying to eat 'sugar-free' for lent. This is flexible, though, I give myself the weekends off, in that if I want to eat white flour or what have you, I'll do it on these days and it's really just a kick up the bum I needed to get my eating habits way back on track. I've lost about 6lbs since starting! Because of this, I have been trying really hard to keep away from cakes, and sugary things, but occasionally, I crave a sweet, cake-like something. 
I scoured blogs, Pinterest, Instagram and websites for some lower-sugar sweet treats, and I'm building a good repertoire. I've got some excellent oat and apple flapjack bars and some whole-wheat banana bread that I'll be sharing soon, but after posting these on Instagram, I got a few requests to share you, so I'm going with this one first!

Anyway, a few notes on these cookies... They are good. However, I personally only really loved them when they were fresh out of the oven and all melty inside. The original post I adapted this recipe from said she preferred them out of the fridge - and to me this made the cookies too thick and a bit claggy - but my mum loved them like this! So who knows, you should definitely try them and see what you think. I love them hot, with a dollop of creme fraiche or some vanilla ice-cream...
INGREDIENTS:
- 1 medium avocado
- 1 medium sized banana
- 1 egg
- 1 tbsp of honey, or more or less, depending on how sweet you like your cookies
- 50g of dark chocolate, chopped into chunks (I used 90% cocoa solids)
- 1/2 cup of cocoa powder (about 60g)
- 1/2 tsp baking soda
1. Preheat oven to 175C/350F/Gas Mark 4.
2. Mash a ripe avocado and banana in a bowl, then use a hand mixer (or you can do it in a food processor) to make the mixture as smooth as possible, I found a wooden spoon didn't quite cut it.
3. Add the egg and honey, and mix well with hand mixer or processor.
4. Add the cocoa powder and baking soda, and mix in with a spoon.
5. Stir in chocolate chunks with a spoon, and then I put my mixture in the fridge for 10 minutes, as it was a bit sloppy to handle, well.
6. Dollop spoonfuls onto a lined baking tray, I used an ice-cream scoop that I use for cupcakes, etc. The recipe I based this on said it yielded 10 cookies. I managed to get 9 pretty decent sized cookies. You could make them smaller and get more.
7. Bake for 10 minutes, the cookies will go sort of shiny on top, and the aren't as wet looking any more. They are very dark, almost black cookies, so it's hard to tell how they're cooking, so keep an eye on them!
8. Remove, allow to cool and go a bit more solid, before transferring to a wire rack to cool completely.
9. Store in the fridge, and eat with a glass of milk, obviously!
Some notes on the original recipe from The Smoothie Lover: I have no idea where I would even get coconut sugar, so in the notes she says you can use banana instead, so I went with that. After tasting it, though, I found that the mixture was kind of bitter for me, so added the honey as well, and this combination is perfect! I am considering trying them with no avocado next time, and just two bananas.
I also normally wouldn't advocate the use of a hand-mixer, but I found it was hard to get the mixture smooth with just a spoon, so I would recommend it, or a food processor, etc.

I had lots of requests on Instagram for the recipe, so let me know what you think or share with me if you try this out... I'd love to see what you thought of them!

Friday, December 26, 2014

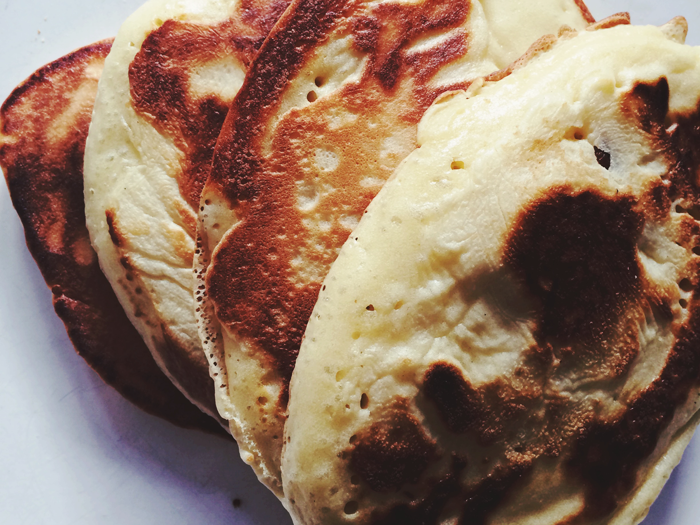
boxing day breakfast or brunch: drop scone pancake recipe


Well hello everyone! I hope you all had a lovely Christmas Day and are gearing up for 2015 nicely. I thought I'd show you all a somewhat indulgent idea for a breakfast on a chilly Boxing Day morning.. 

A drop-scone (or an american style pancake, if you like) is one of my favourite things to make. They're so quick, so easy, and so amazingly tasty. They're a thousand times better than the ones you buy pre-cooked, and the batter only takes minutes to whip up. They'd be an amazing thing to pull together for a New Year's Day breakfast (er, brunch?) if you're all feeling a little fragile, and unlike croissants, require minimal effort. The hardest part is basically wondering how many you can scoff down before anyone notices.. 
INGREDIENTS:
(makes about ten-twelve decently sized pancakes)
- 125g self-raising flour
- pinch of salt
- 25g caster sugar
- 2 eggs
- 25g melted butter
- 100ml milk

1. Sift flour into a bowl, and yes, this is a rare recipe when I actually sift it. Generally I can't be bothered, but no-one wants a lumpy pancake. Stir in the salt and sugar.
2. Make a well in the middle of the flour, and add the eggs. Pour in a little of the milk and begin to beat.
3. Gradually add in the rest of the milk until the batter has a smooth consistency and drops drop from the spoon.
4. Place butter in a microwabable bowl and heat until melted. When batter is ready to be cooked, add the melted butter and stir in.
5. Heat a frying pan until a bit hotter than a medium heat and add something to stop pancakes sticking (I usually use sunflower oil, but just a little.)
6. Using a tablespoon or an ice-cream scoop, spoon the batter into the frying pan and cook.
7. When the pancakes are beginning to bubble, and have gone solid around the edges, flip the pancake over and cook until golden brown.
8. If using a small pan and making several batches of pancakes, keep a plate warm in the oven with the pancakes on. Serve immediately and eat hot with lots of butter, golden syrup, blueberries, nutella....

Recipe adapted from one by Hugh Fearnley-Whittingstall.

Saturday, December 20, 2014

a lesson in patience, or how to make croissants


I think one of my defining characteristics is my lack of patience. With people, at appointments, in shops, at traffic lights.. and when cooking, particularly. So it's weird that I decided two weekends ago to make croissants. I've been wanting to try making them for so long, as there are few things I enjoy more than breaking into a hot croissant, slathering it in butter and jam with a fresh orange juice on a lazy sunday morning. After browsing recipes constantly, I decided that I needed a good two days off to do it. Two weekends back, I had my weekend off, and decided to go for it.. 

It was so worth it. I really enjoy those Jus-Rol croissants that you get in a can, mum used to make them for us as treats or at Christmas when we were little, so I really wanted these to be better than that. I can safely say that they are SO much better than that. 


I just used the first recipe I found, which happened to be Paul Hollywood's recipe - I figured his was probably a good recipe to use - however his recipe does has a lot of waffly wording in it, so I found a more condensed version on the uktv.co.uk website. I've combined the two below, with my own additions, so I'm not taking credit for the recipe but I've added my own comments...
INGREDIENTS
- 500g strong white bread flour, plus extra for dusting
- 10g salt, plus a pinch for the eggwash
- 80g caster sugar
- 10g instant yeast
- 300ml cool water
- 300g chilled unsalted butter (a good quality butter, I used President)
- 1 medium egg to glaze
1. Place the flour, salt, sugar and yeast in a large mixing bowl. Using a wooden spoon, slowly mix in a little water until the mixture forms into a pliable dough.
2. Place the dough on a floured surface and knead well until it feels elastic, I find about 15-20 minutes of good kneading.
3. Place the dough in a lightly floured plastic bag, and place it in the fridge for an hour.
4. Return the chilled dough to your floured work surface and roll it into a rectangular shape, around 60x20cm.
5. Roll out the chilled butter into a rectangle about 1cm thick between two sheets of baking parchment, around 40x19cm.
6. Place the butter rectangle at one end of the the dough rectangle, covering two thirds of the dough.
7. Make a small cut in the butter (not going through the dough) and fold the dough third with no butter, over the butter layer. Then fold the remaining dough and butter third over this, to make a neat rectangle. 
8. Pinch the edges to keep the butter in, and then place in a floured bag and return the dough to the refrigerator to chill for a further hour.
9. Flour your surface again, and roll out the dough to a rectangular shape, around 60x20 cm. 
10. Fold one-third of the dough into the middle, then fold the other third down over it, so you have another rectangle. Return to the plastic bag and refridgerate for a further hour.
11. Repeat this process of folding and chilling two more times, then place in the bag again and chill overnight or for eight hours.
12. On a floured surface, roll out to about 45x30cm and cut into two equal strips and trim the edges with a knife. 
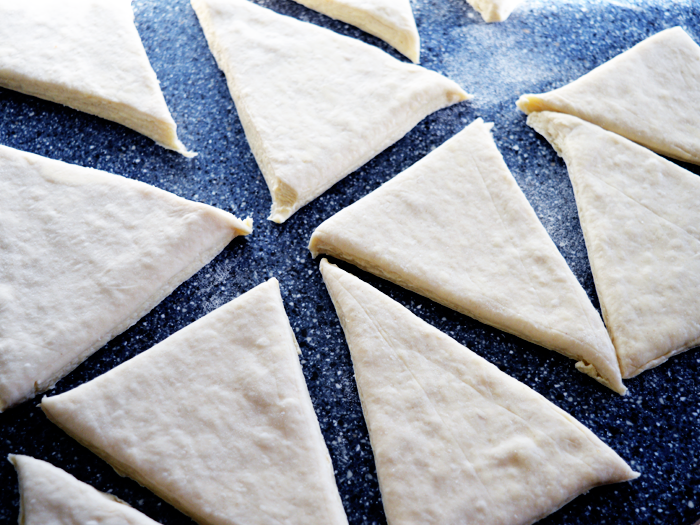
13. Cut the dough into squares and then into two triangles, or into triangles with a 12cm wide base and 15cm high.
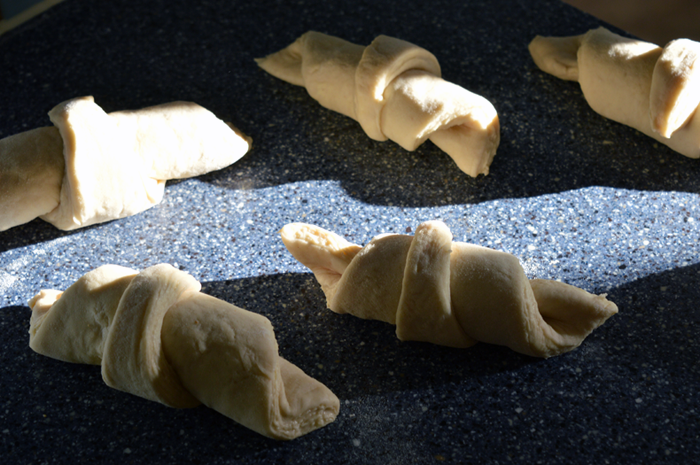
14. Place the dough triangles on a floured surface with the narrow point facing you, pull it down slightly to length the crosisant. Then, starting at the wide base end, roll the triangle up over itself, you could then curl them in on themselves if you like. 
15. Place the shaped croissants on baking trays lined with baking parchment and leave to rise for 1.5-2hrs. 
16. Preheat the oven to 200C/180C fan/Gas 6. 
17. Make an egg wash with a pinch of salt, and lightly egg-wash the croissants. Bake for 10-15 minutes until golden brown. 
How amazing do those layers look?! The lamination with the butter makes them taste amazing, they don't even need butter when eating them, which I really like to use. Just jam, because when they cook the butter in the layers melts and makes the dough so moist and buttery. 

There is no getting away from it, they do take a long time to make, but yes, they're definitely worth it! I know recipes that take days always say 'oh but they're worth it' and sometimes I go through all the faff and thing you know what, they're not worth it the hassle. You do need to have the time on your hands, but these croissants were hand-down the best pastries I've ever eaten. I've even got some dough chilling in the fridge as we speak, I'm making a batch this weekend and freezing them so we can have them on Christmas morning! I just ate with a selection of jams (pear and damson were the absolute best) but you could definitely have them with Nutella or something, or even put chocolate inside to make some pain au chocalat... 

So, to summarise my thoughts on the homemade croissant: some things that are a right faff are definitely worth inhaling eating, maybe I'm not as impatient as I thought, you can get a surprising amount of present wrapping done between rolling turns, I could never get tired of these.


Wednesday, October 22, 2014

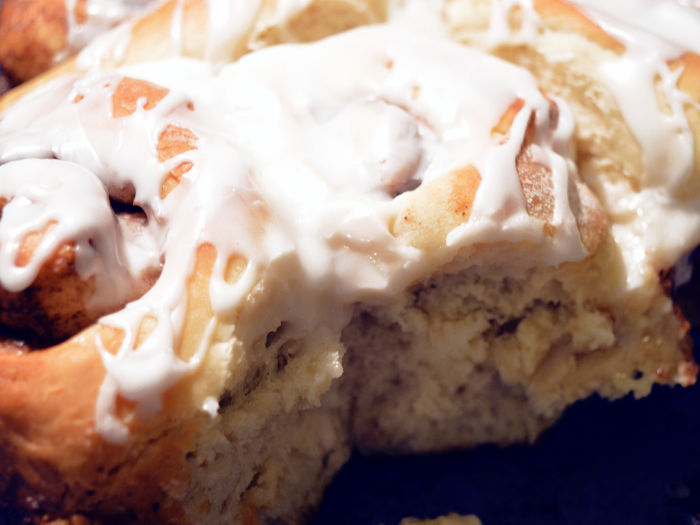
the almost perfect cinnamon bun + recipe


The other week I was in the shower, and I cracked open a new bottle of Korres' Vanilla Cinnamon shower gel. Whilst singing along to my music and lathering up, I realised that the smell reminded me exactly of cinnamon buns. So after pottering about for the rest of the day, occasionally stopping to smell my arms because they smelled that good, I decided to just give in and make some cinnamon buns. 
I searched around the internet for a good recipe, and came across this one from the Guardian website. It seemed like a good option, requiring less proving that most recipes, and using ingredients that I nearly all had in at home.
INGREDIENTS:
For the buns:
300ml whole milk (I only had semi-skimmed, and it worked fine)
1tsp ground cardamon seeds (about 25 pods)
50g butter
424g plain flour
7g fast action yeast
60g caster sugar
1/4 tsp fine salt
1 egg, beaten lightly
oil, to grease

For the filling:
75g softened butter
50g dark brown sugar (again, I only had light brown, it was fine, a little less treacly)
3 tsp cinnamon
1/2 tsp salt

For the icing:
125g icing sugar
1.5 tbsp milk
(note: I did not have any cream cheese, or I would've made cream cheese icing!)

1. Put the milk and ground cardamom seeds in a small sauce-pan and bring to just below the boil. Take off the heat, stir in the butter, and then leave to infuse.
2. Mix together all the dry ingredients in a large bowl. When the milk is no longer hot, and is just warm, make a well in the dry ingredients and the egg. Stir the egg in, then pour in the milk through a strainer. Stir until it comes together to make a soft dough that pulls away from the edge of the bowl.
3. Oil your surface well, and your hands, and knead for five minutes. It is a very soft and wet dough, I found, but resist adding more flour. I didn't have a dough scraper, but I recommend using one for this!
4. Wipe out the bowl and oil it lightly, then return the dough to the bowl. Cover, and leave somewhere warm for 30 minutes. (They suggest a cold oven, with a bowl of hot water, but we left hours at the back of the stove-top whilst the oven was on, and that worked well.)
5. Whilst the dough is proving, make the filling by beating all the ingredients together until soft and easily spreadable. (Resist from eating, this mixture tastes so good.)
6. Also whilst waiting, grease a cake tin.
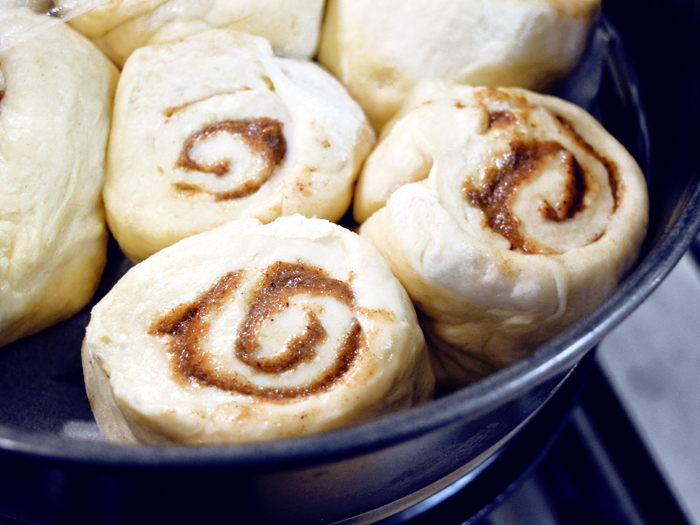
7. Roll out the dough on a lightly floured surface to a rectangle roughly 35 x 25cm. Spread the  filling mixture evenly across the dough, then roll dough into a sausage shape, starting from the long edge (like you would a swiss roll). Cut into eight even slices.
8. Arrange the slices in a tin, evenly spaced, and leave to prove again for 30 minutes.
9. Meanwhile, heat the oven to 200C/400F/Gas 6. Bake for 25 minutes or until golden brown.
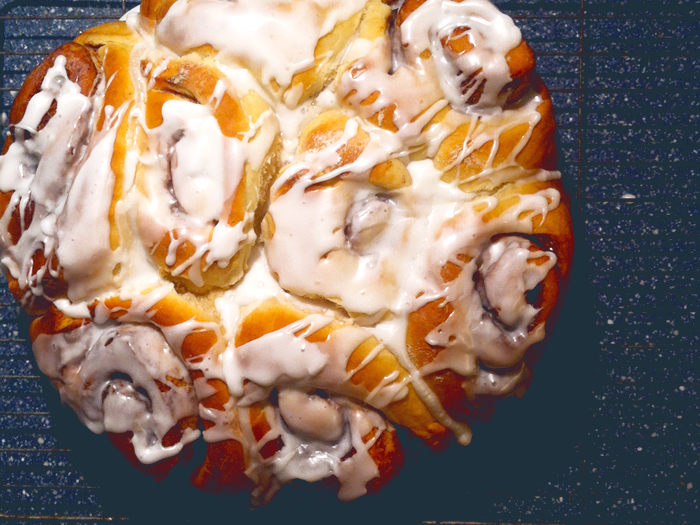
So there we go! They're best eaten fresh, obviously, and don't keep amazingly well, and would be much improved with some cream cheese icing and not the sugar icing that I made - but they hit the spot and weren't that hard, despite the multiple proves, etc. Next on my challenge list are croissants and doughnuts...

Monday, September 15, 2014

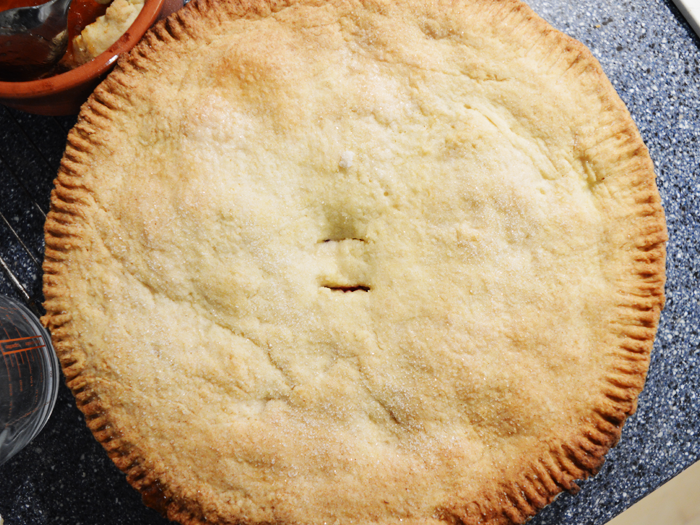
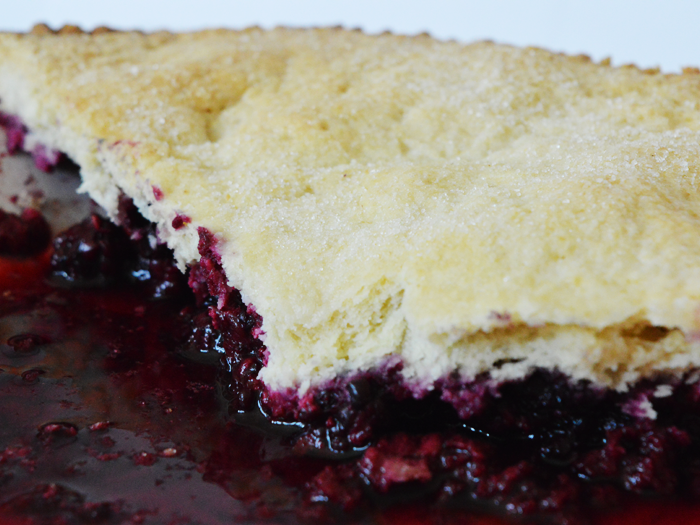
dead easy pie crust (with blackberry filling)


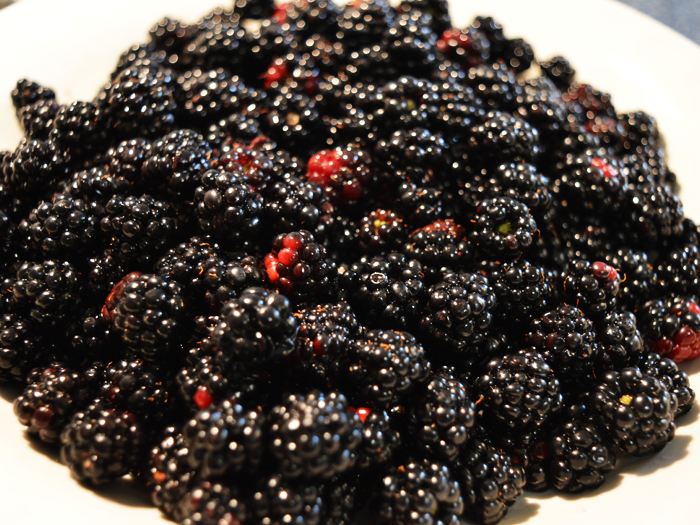
This is my mum's dead-easy pie-crust recipe. Perfect for when the shops have shut on Sunday afternoon and we want to make something with our foraged blackberries and we don't have any fat in so we'll just butter and shove it all in the oven because the roast will be ready in thirty minutes. Eaten with copious amounts of cream, it's pretty good. Basically I love pies, hate the faff of making pastry. 
YOU'LL NEED:
- 8oz plain flour
- 4oz butter (you can use lard or trex or something, if you want)
- 40ml water
- 1-2 tbsp of sugar
- 450g/1lb of blackberries, washed
- A few tablespoons of sugar, about two to season the filling, and another two for the pie

STEPS:
1. Add butter/fat to the flour. Rub with fingers in a lifting motion, which sounds weird, I know - here, Delia explains it better than I can.
2. When it's all combined, with no big lumps of butter left, use a small amount of water to bring it altogether.
3. You can chill it now, if you like, but this will probably be made in our house when there is no time to spare. Like, a neighbour has turned up at 5.30PM with a bag of apples/plums/raspberries and we all fancy a pie for dinner and we have no pre-made pastry in the fridge (shh). What I'm saying is, like sifting flour, things rarely are left to rest in our house.
4. Roll out to a thin layer, and wet the rim of your pie-dish with some water.
5. Place all your filling into pie-dish and cover the blackberries with a couple of tablespoons of sugar.
6. Using the rolling pin to help you, place the pie-crust over the dish. Press down around edges and make a small hole to let steam out.
7. Brush a bit of water on the top of the pie and sprinkle with another tablespoon or so of sugar.
8. Bake until golden-brown - if it's browning a bit too much, give it a foil hat.
It's not going to win me any prizes in the bake-off, nor will it win a beauty contest. Delia and Mary Berry would most definitely not approve. But Nigella might have approved of all the extra-thick double-cream I ate with a second helping at 10PM later that night.. 

Wednesday, September 10, 2014

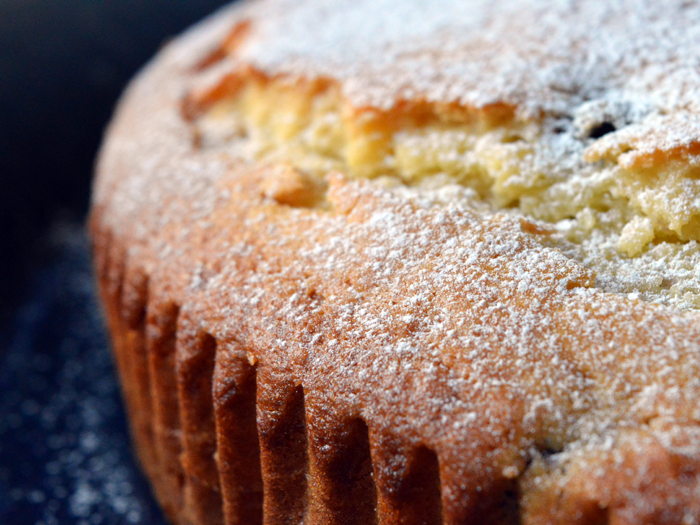
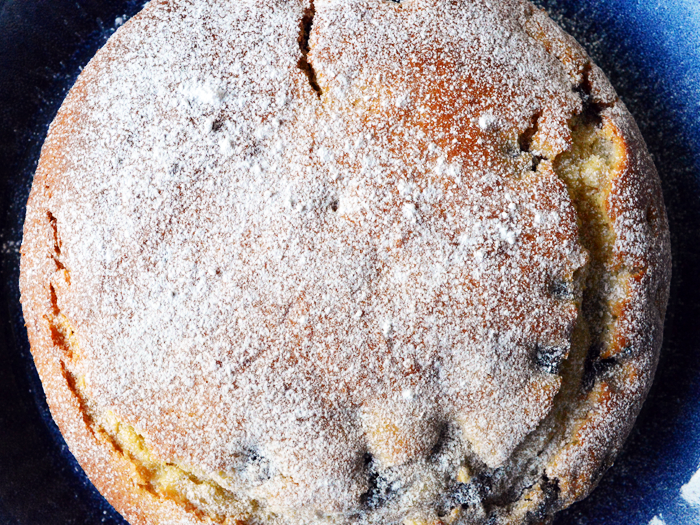
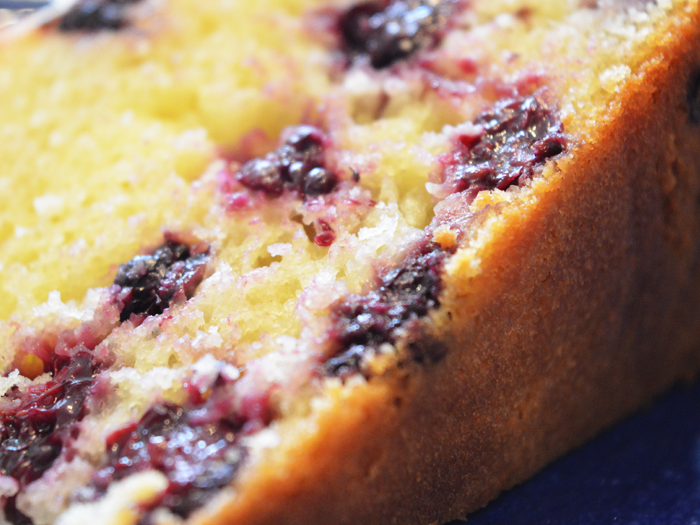
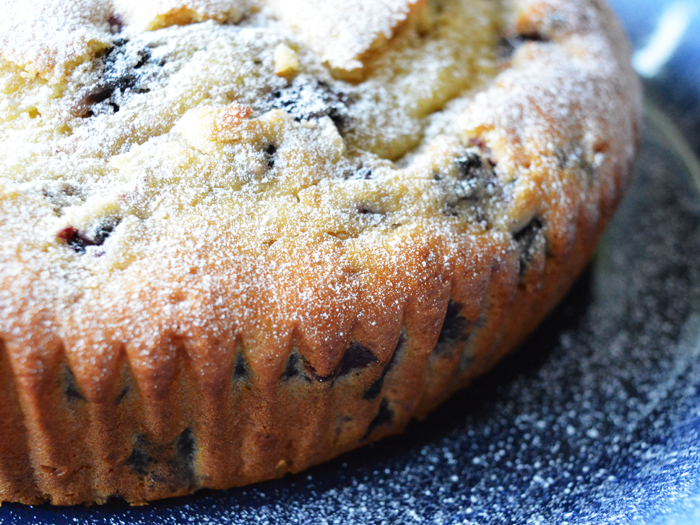
blackberry yoghurt cake + recipe


I have the lovely Ruth to thank for the idea for this cake. I posted a few days ago asking what on earth I could do with my blackberries, that wasn't jam, crumble or pie (even though I definitely made all those things with them!) and she replied, saying that she was going to try a blackberry yoghurt cake with hers..
This sparked an idea and I immediately thought of Smitten Kitchen's lemon-yoghurt-anything-cake (a favourite of mine, I seriously love her cake recipes, they're always a winner). The recipe she used was adapted from an Ina Garten one, and I've changed up hers enough that I'll write it out here for you (because I'm nice like that).
YOU'LL NEED:
- 193g / 1.5 cups of self-raising flour, plus 2 tbsp flour
- 225g / 1 cup of plain natural yoghurt (about 1.5 of the 150g Yeo Valley Natural Yoghurt pots!)
- 201g / 1 cup of golden caster sugar
- 3 extra-large eggs
- 1/2 tsp of vanilla extract
- 125ml / 1/2 cup of vegetable oil
- Some rinsed blackberries (I didn't weigh mine, but I think I had about 250g, roughly, you will probably want more, though)
- A small amount of icing sugar to decorate.

STEPS: 
1. Preheat oven to 180C, line a cake tin. I cheat and use these kind of liners by the way, as I hate greasing/cutting baking paper to shape.
2. In a large bowl, combine the oil (do the oil first, it makes the other stuff stick less), yoghurt, eggs, sugar, and vanilla extract. Whisk it all together.
3. Measure out your flour in a separate bowl, and gradually add the flour into the wet mixture, whisking until it's all combined. You can do this step in a mixer, I suppose, but I wouldn't after you add the blackberries, as they'll get broken up too much.
4. In the bowl you measured out your flour in, place the blackberries. Using that extra bit of flour, about two tablespoons worth, make sure as many of the blackberries are coated in the flour as possible. This helps them not to sink in the cake.
5. Carefully fold in the flour-coated blackberries to the cake mix. Do this until they're just combined, being careful not to squish them.
6. Pour/scrape into your lined tin and put in the oven.
7. Bake until the top is golden brown, and a skewer inserted into the centre of the cake comes out clean. We found we needed about an hour and five minutes, but I would check periodically to make sure. We also covered with foil after the top started to brown, so it didn't burn.
8. When the cake is cooked, remove and place on a cooling rack. Using a small sieve or tea-strainer, lightly dust with icing sugar.
I'm aware that in the photos it looks like all my fruit has sunk - it really hasn't! The flour thing works, trust me - just for some reason, I distributed the blackberries really badly. Like, they're nearly all in one side of the cake - I don't even know how that happened.. That is why I say you'll probably want more, because they weren't evenly distributed and you know that wouldn't stand in the bake-off.

Anyway, let me know if you try this! It's a really good cake, like a giant muffin, and has a really good texture, very light. I am pretty much just a giant fan of anything that uses yoghurt, sour-cream or buttermilk, I love the texture it gives to the cake.

Saturday, July 27, 2013

fudge, glorious fudge


I think my biggest sweet-treat-weakness would be fudge. Or maybe chocolate raisins, but probably fudge. I remember buying little bags of it on holiday in Cornwall and Devon savouring it piece by piece. Even now, my parents buy me a box of the crumbly fudge for my birthday. It's just a weakness. 
I was in Lakeland a while back and saw a sugar thermometer - I've always wanted to try making fudge or caramel so I bought it, but it took me a while to get around to making it, but I finally have and I am in love with fudge all over again. Just looking at the photos, my mouth is watering all over again. I really want to try out some different flavours - perhaps peanut butter or chocolate? Anyway, if you know me in person, you'll probably be getting this as a present sometime in the future! 

So I combined two recipes to make this - the main fudge is from the Carnation milk website, with the amount of salt that the Cornish sea-salt site says is good. I didn't want the fudge super-salty, just enough to make the sweetness balance out. 
1 tin condensed milks (396g tin)
150ml semi-skimmed milk
450g demerara sugar
115g salted butter
1 tsp of vanilla extract
1 1/2 tsp of sea-salt (I used Maldon sea-salt flakes, because they're really good)
(A bit of extra sea-salt to sprinkle on top whilst it was solidifying) 
1. Line a roughly 20cm squared tin or bowl with baking parchment.
2. In a deep, heavy duty pan (I used my mums jam making saucepan, as the mixture bubbles up quite a bit) combined the condensed milk, regular milk, sugar and stir on a low heat until it is all dissolved and combined.
3. Bring to the boil and simmer on a low-medium heat for 10-15 minutes, stirring continuously, otherwise it sticks to the bottom of the pan and burns, which spoils the fudge.
4. The next bit is when the thermometer comes in useful - I boiled mine until it said "soft ball" on the thermometer, which is about 235F or 113C. How you can tell it's done if you haven't got one, is by dropping a small amount of it into a jar of cold water, if it forms a small ball and doesn't disintegrate in the water, you know it's done.
5. Stir in the 1 1/2 tsp of salt and the vanilla extract and remove from the heat immediately. Now you need to start beating the fudge as much as possible. Me and my mum took it in turns to do this because it needs to be stirred constantly for about 10-15 minutes, until the mixture is thick and a little bit grainy, however if you over mix it, you'll be able to feel it is rough on the bottom of the pan.
6. Pour into lined tin and smooth with a spatula, and use the last of the salt to sprinkle on the top whilst it is still cooling and solidifying. Once it had cooled a bit, I put it into the fridge for a bit, so it was easy to cut up.
Just as a warning, this makes a lot, so be prepared to have a lot of fudge on your hands. No-one else in my family really likes fudge, so I just have a huge tub in my kitchen.. What a shame.. 
Let me know if you try this out! 

Wednesday, August 22, 2012

easy portuguese tarts


The other week me and my mum were eating Portuguese tarts in Cafe Nero and we thought that we should be able to make some. Cue us googling recipes on her iPad.. and we found this recipe which is apparently Bill Grangers, but we kind of adapted it to suit us because we were in a bit of a rush! My brother and his girlfriend were coming to stay, and they are big foodies, but my brother really loved them, so I think this is a stamp of approval! Even I liked them, and I usually hate shop-bought custard tarts, because they're too eggy and claggy and weird.
Anyway, check the link, I take no credit for these but I'm going to repost it here! 
3 egg yolks
115g/4oz caster sugar
2 tbsp cornflour
230ml cream
170ml milk
2 tsp vanilla extract
300g rolled puff pastry (one block)
1. Put egg yolks, sugar and cornflour in a saucepan, whisk together, and add cream and milk until smooth.
2. Over a medium heat, stir until the mixture thickens. Take off the heat and add vanilla extract. Cover and leave to cool whilst you roll out the tarts.
3. Preheat oven to 200c, grease a muffin/cake tray. The link says to use an 80ml but I you need to make sure that they are not too shallow and deep enough to hold the custard. You could put little foil trays in if you have them.
4. Roll half the pastry block out into a rectangle (we sprinkled the sheet of pastry with cinnamon to give a bit of taste) and then roll up tightly to create a log shape, like you would if you were making a swiss roll. Cut the pastry into 1cm-ish rounds. Using a rolling-pin, roll each round out until it's thin and flat, about 10cm in diameter. If this is confusing, see the original link, they have good pictures detailing the procedure! Press the pastry rounds into the tin, and sort of ruffle the edges. (We gave up this method on the second batch and just used a regular pastry cutter on the rolled out pastry. These worked fine, except the pastry around the edge wasn't quite as fluffy/rustic-looking.)
5. Poor custard into pyrex jug or something similar and pour into the pastry cases. Bake for about 20-25 minutes until golden brown. Let them sit in the tin for about 5-10 minutes then transfer to a wire rack to cool. 
Whilst I want to say that my photos completely washed these out, they were not that pale in person but I don't think we cooked them quite long enough. they weren't as golden-brown as I would have liked. I would've liked them to caramelise a littttle bit more than they did, but they still tasted amazing! I definitely recommend try these out, and if you don't want to worry about all the faff with the pastry, just use a cutter.
Have you tried something similar? Let me know! 
UA-21892945-2