Showing posts with label fruit. Show all posts

Wednesday, October 15, 2014

on learning how to make jam, or, post-harvest musings


Now that we've had the first frost (why did it have to be a Sunday morning when I leave for work at 8AM, though?!), I feel like summer and, subsequently, harvest-time have finally drawn to a close, and we're officially into the colder months. This weekend I was walking along the hill at Alexandra Palace and enjoying the very fresh wind - as I regretted my decision to not bring a coat, I realised that meant summer was over. I know that Halloween is officially yet to come, and the pagan in me feels like that is the real end of the summer, but the frost, dark and misty mornings, low sun when driving home and orange crescent moons are telling me it's come already.
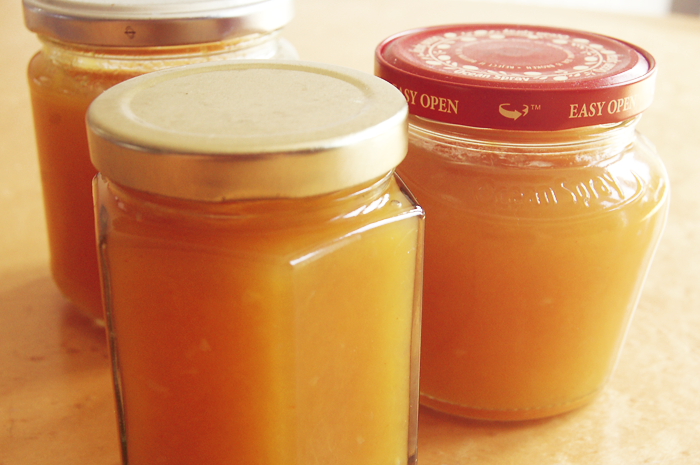
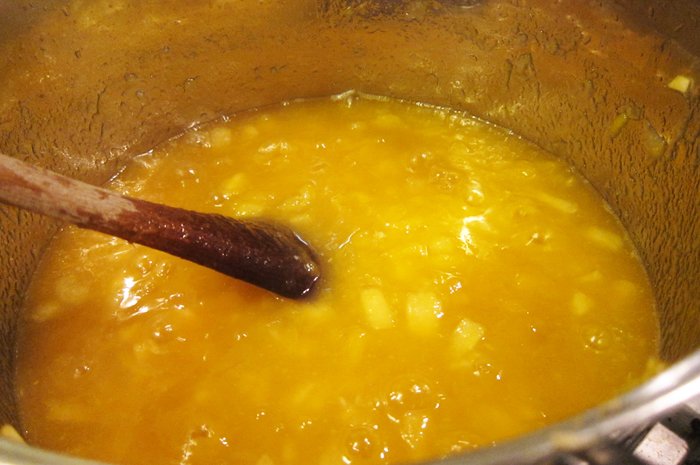
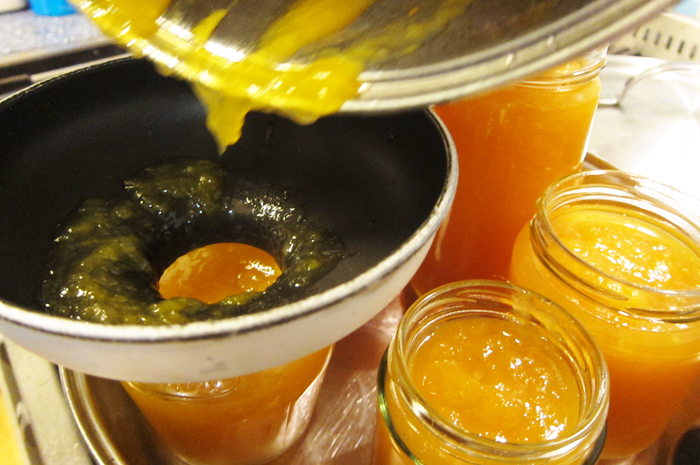
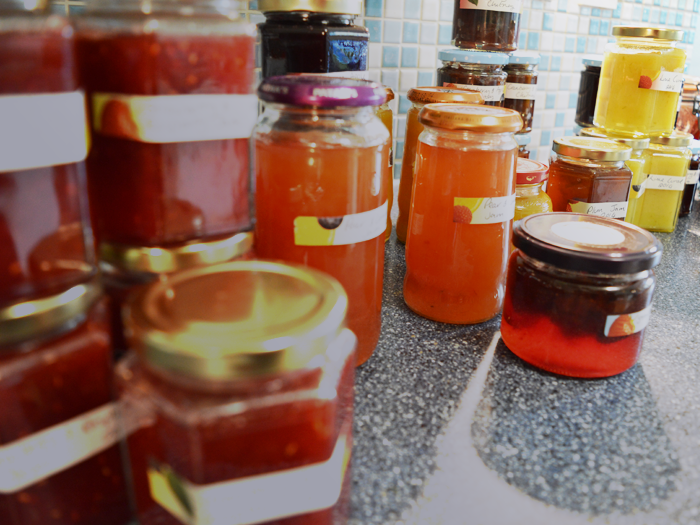
Anyway, I digress - this year my mum has taken it upon herself to unofficially teach me how to make jam, jelly, chutney, curd and other preserves, so thought I'd show you a few photos I snapped of all the preserving-work we've been upto this year whilst I sat and labelled all our jars the other day.

  • It is hot work; I didn't really think about how warm it gets standing over a hot pan of sticky, sugary juice and fruit. 
  • Chutney makes your house stink like vinegar, no-matter how many windows you open - but making it on the most humid day of the year before a giant thunderstorm probably didn't help, either.
  • I miss the allotment, and the excitement of bringing home whatever was ready to eat. Although we didn't exactly make jam from the potatoes, it just makes me miss everything. Now the only place I'll be harvesting, for the foreseeable future, is the reduced soft-fruit section at Waitrose..
  • I enjoy quince jelly more than I thought I would - I had no idea it would smell so good cooking. It's weirdly floral, but yeah.
  • I also really enjoy eating jam straight from the jar, and that is generally how I consume it most. I feel like Joey in the one with the jam....
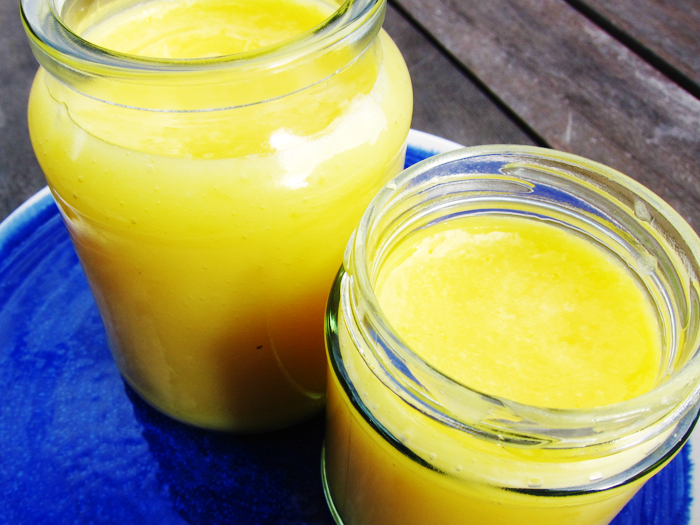
  • There is nothing greater than a jar of home-made lemon curd.
  • I want to try out some more adventurous things now that I've realised it's really not that hard. I still think it's stupid that they make them make their own jam for a victoria sponge on Great British Bake-Off, but it's really not that hard. 
  • Jam/sugar thermometers are really irritating. The jam gets caught underneath + behind them and then catches and burns and you end up with burnt jam bits in your lovely pear-jelly.
  • Licking the spoon until I feel sick makes me think I can never eat jam again. I always manage to eat some more the next day.
  • Bulk buying 50 jam-jars from Amazon may seem absurd when you receive that giant box one morning, but you'll be surprised and how many you've used. I think we have about twenty left?
  • People legitimately enjoy receiving it as presents, I've discovered, and even given the jars back for more, which is even more pleasing to know as it gives me an excuse to make more lemon curd. 
  • You'll find yourself rearranging your cupboards or fridge to make space for the jars.
I might joke about how it's dirty work, but I love it. I'm weirdly sentimental, but both my grandmothers made jam and jelly and stuff, and it's something I associate so inherently with my mum - I think she's made some form of blackberry jam every year of my life since I can remember, and probably longer than that. It makes me smile to know that I'm learning too, and now I can scoff at those pretty jars of Bonne Maman jam when they're on offer in the shops, as I know I've got something nicer and tastier at home.

Have you tried making jam yet? I promise you, it's insanely satisfying to see those colourful jars all laid out on the work-top and neatly labelled. Almost as satisfying as not knowing what kind of jam to have on my toast - do I go for the pear, plum, quince, damson, blackberry, apple, raspberry, strawberry...

Monday, September 15, 2014

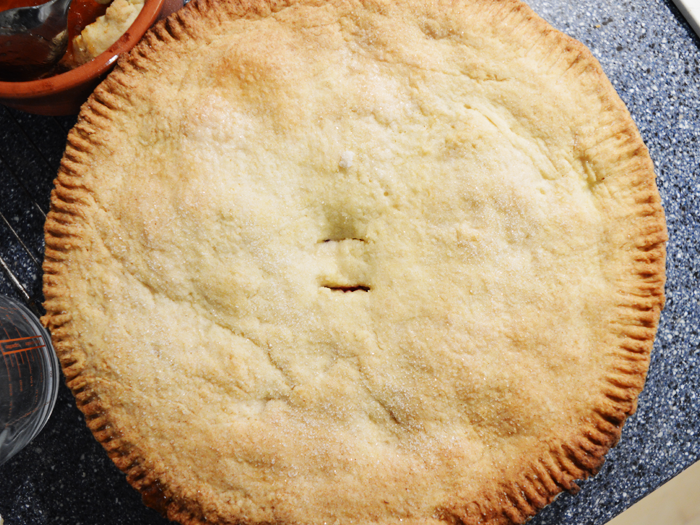
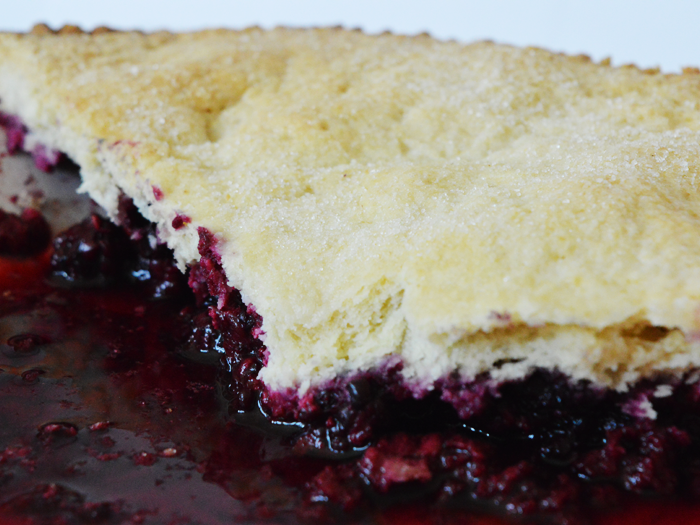
dead easy pie crust (with blackberry filling)


This is my mum's dead-easy pie-crust recipe. Perfect for when the shops have shut on Sunday afternoon and we want to make something with our foraged blackberries and we don't have any fat in so we'll just butter and shove it all in the oven because the roast will be ready in thirty minutes. Eaten with copious amounts of cream, it's pretty good. Basically I love pies, hate the faff of making pastry
YOU'LL NEED:
- 8oz plain flour
- 4oz butter (you can use lard or trex or something, if you want)
- 40ml water
- 1-2 tbsp of sugar
- 450g/1lb of blackberries, washed
- A few tablespoons of sugar, about two to season the filling, and another two for the pie

STEPS:
1. Add butter/fat to the flour. Rub with fingers in a lifting motion, which sounds weird, I know - here, Delia explains it better than I can.
2. When it's all combined, with no big lumps of butter left, use a small amount of water to bring it altogether.
3. You can chill it now, if you like, but this will probably be made in our house when there is no time to spare. Like, a neighbour has turned up at 5.30PM with a bag of apples/plums/raspberries and we all fancy a pie for dinner and we have no pre-made pastry in the fridge (shh). What I'm saying is, like sifting flour, things rarely are left to rest in our house.
4. Roll out to a thin layer, and wet the rim of your pie-dish with some water.
5. Place all your filling into pie-dish and cover the blackberries with a couple of tablespoons of sugar.
6. Using the rolling pin to help you, place the pie-crust over the dish. Press down around edges and make a small hole to let steam out.
7. Brush a bit of water on the top of the pie and sprinkle with another tablespoon or so of sugar.
8. Bake until golden-brown - if it's browning a bit too much, give it a foil hat.
It's not going to win me any prizes in the bake-off, nor will it win a beauty contest. Delia and Mary Berry would most definitely not approve. But Nigella might have approved of all the extra-thick double-cream I ate with a second helping at 10PM later that night.. 

Wednesday, September 10, 2014

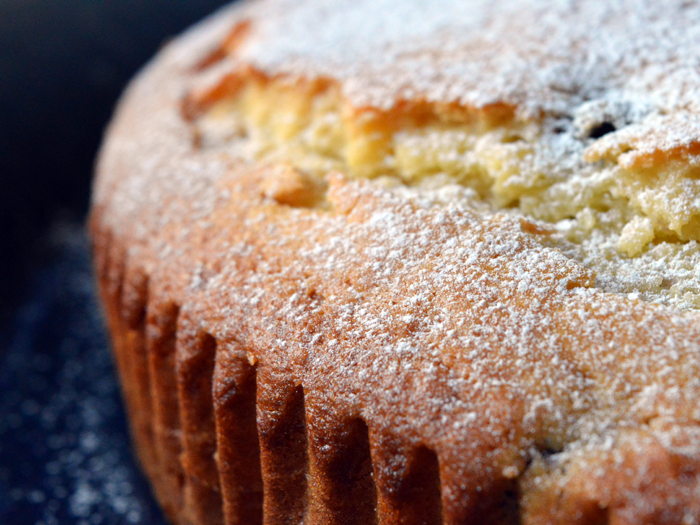
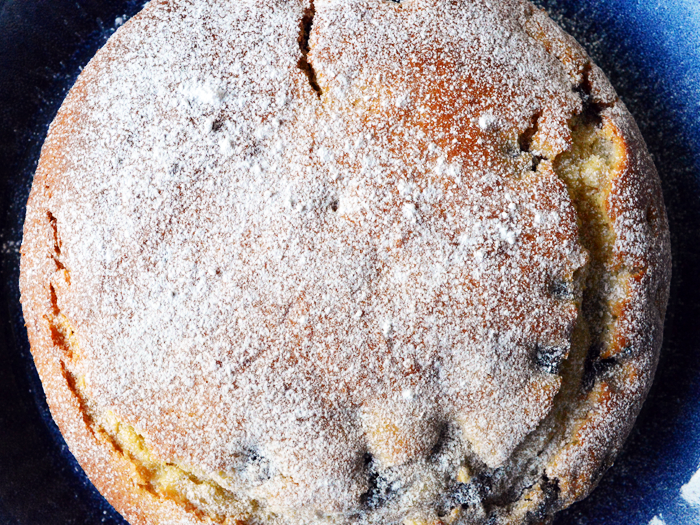
blackberry yoghurt cake + recipe


I have the lovely Ruth to thank for the idea for this cake. I posted a few days ago asking what on earth I could do with my blackberries, that wasn't jam, crumble or pie (even though I definitely made all those things with them!) and she replied, saying that she was going to try a blackberry yoghurt cake with hers..
This sparked an idea and I immediately thought of Smitten Kitchen's lemon-yoghurt-anything-cake (a favourite of mine, I seriously love her cake recipes, they're always a winner). The recipe she used was adapted from an Ina Garten one, and I've changed up hers enough that I'll write it out here for you (because I'm nice like that).
YOU'LL NEED:
- 193g / 1.5 cups of self-raising flour, plus 2 tbsp flour
- 225g / 1 cup of plain natural yoghurt (about 1.5 of the 150g Yeo Valley Natural Yoghurt pots!)
- 201g / 1 cup of golden caster sugar
- 3 extra-large eggs
- 1/2 tsp of vanilla extract
- 125ml / 1/2 cup of vegetable oil
- Some rinsed blackberries (I didn't weigh mine, but I think I had about 250g, roughly, you will probably want more, though)
- A small amount of icing sugar to decorate.

STEPS: 
1. Preheat oven to 180C, line a cake tin. I cheat and use these kind of liners by the way, as I hate greasing/cutting baking paper to shape.
2. In a large bowl, combine the oil (do the oil first, it makes the other stuff stick less), yoghurt, eggs, sugar, and vanilla extract. Whisk it all together.
3. Measure out your flour in a separate bowl, and gradually add the flour into the wet mixture, whisking until it's all combined. You can do this step in a mixer, I suppose, but I wouldn't after you add the blackberries, as they'll get broken up too much.
4. In the bowl you measured out your flour in, place the blackberries. Using that extra bit of flour, about two tablespoons worth, make sure as many of the blackberries are coated in the flour as possible. This helps them not to sink in the cake.
5. Carefully fold in the flour-coated blackberries to the cake mix. Do this until they're just combined, being careful not to squish them.
6. Pour/scrape into your lined tin and put in the oven.
7. Bake until the top is golden brown, and a skewer inserted into the centre of the cake comes out clean. We found we needed about an hour and five minutes, but I would check periodically to make sure. We also covered with foil after the top started to brown, so it didn't burn.
8. When the cake is cooked, remove and place on a cooling rack. Using a small sieve or tea-strainer, lightly dust with icing sugar.
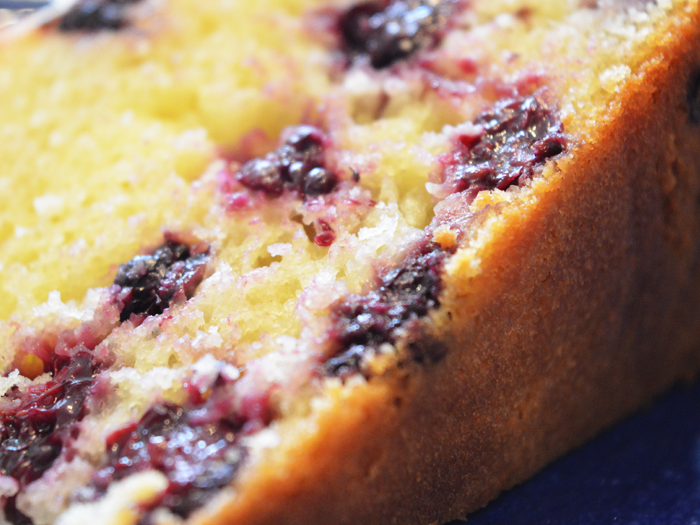
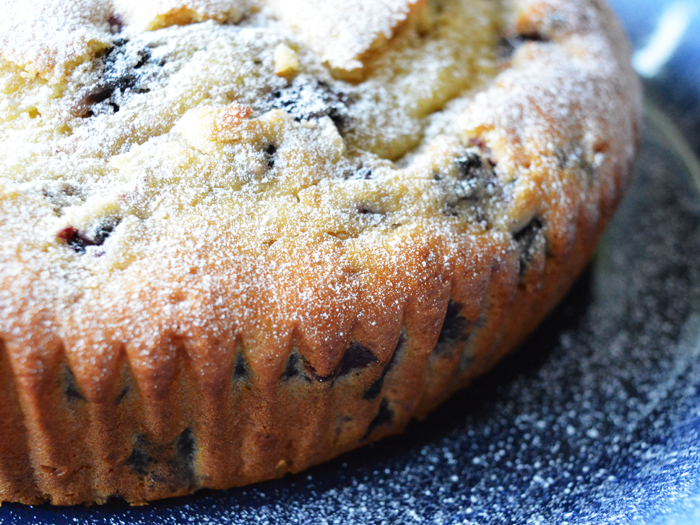
I'm aware that in the photos it looks like all my fruit has sunk - it really hasn't! The flour thing works, trust me - just for some reason, I distributed the blackberries really badly. Like, they're nearly all in one side of the cake - I don't even know how that happened.. That is why I say you'll probably want more, because they weren't evenly distributed and you know that wouldn't stand in the bake-off.

Anyway, let me know if you try this! It's a really good cake, like a giant muffin, and has a really good texture, very light. I am pretty much just a giant fan of anything that uses yoghurt, sour-cream or buttermilk, I love the texture it gives to the cake.

Wednesday, August 27, 2014

homemade mango chutney: recipe


The other day I made mango chutney. I make it sound so simple, don't I? However, stoning 4 giant mangos, your house stinking of vinegar and standing over a hot stove on a very hot English summer evening (read: humid!) is less than easy. It was worth it, though, when you end up with this most amazing chutney. I made about five jars (but have given a few away already) and I've been spooning it liberally onto curries and barbecue chicken ever since. 
A lot of the mango chutney's you can buy weren't sweet enough for me, or were too vinegary. which I'm not a huge fan of, so I wanted to make some that was exactly how I wanted.
I browsed a lot of recipes, and consulted my mother who is the oracle of all things jam and chutney related, and she said this BBC Food one would be a good one to try, so she helped me make it. I'll repost the recipe here:
YOU'LL NEED:
- 4 large mangoes, peeled, stoned, and sliced
- salt
- 4 cloves of garlic, peeled and crushed
- 450g (1lb) of caster sugar
- 2 baking apples, peeled, cored and chopped
- 1 tbsp English mustard powder
- 1 tbsp grated fresh ginger
- 600ml (1 pint) of apple cider vinegar (the recipe calls for white wine vinegar, but the apple cider vinegar is a bit more mellow, so I used that because I don't love vinegar)
- 1 tbsp cayenne pepper

STEPS:
1. Put the peeled, stone and sliced mangos in a large bowl and sprinkle with salt. Leave overnight. In the morning, drain the juice and rinse all the fruit.
2. Put the garlic, sugar, apples, mustard, ginger, vinegar and cayenne pepper in a pan and over a low heat, dissolve the sugar.
3. Bring to the boil and add the mangoes. Simmer for 45 minutes until the chutney is thick and syrupy, keep stirring so the mixture doesn't catch on the bottom of the pan. (The recipe says to simmer for 30, but after testing a bit on a cold plate in the fridge, it wasn't nearly thick enough, so we left it for about 45 minutes.)
4. Spoon (or use a jam-funnel) into sterilised jars. Allow to cool and seal. 
I gave a jar to my brother and his girlfriend, who are quite the foodies,  and my mum gave one to a friend of hers who likes chutneys, but nothing spicy, and they both agreed it was good! So I am pretty pleased, generally. It's got the perfect sweetness, with a bit of a vinegary kick that makes it just right. 

Tuesday, August 26, 2014

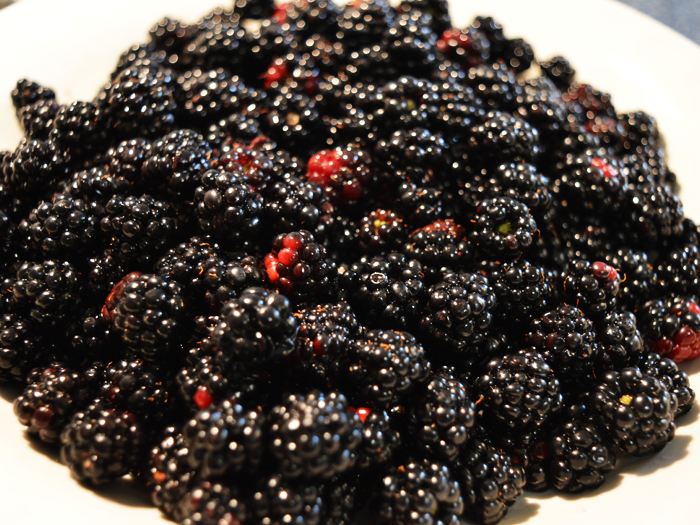
blackberry season


If you follow me on Instagram - you'll know I had to say goodbye to the allotment this month, which made me pretty sad. It's something I've really enjoyed doing, particularly spending time with my dad, which isn't something I get to do a lot. We've had a difficult relationship over the years, but I feel like the time spent digging up potatoes has helped, a bit. 
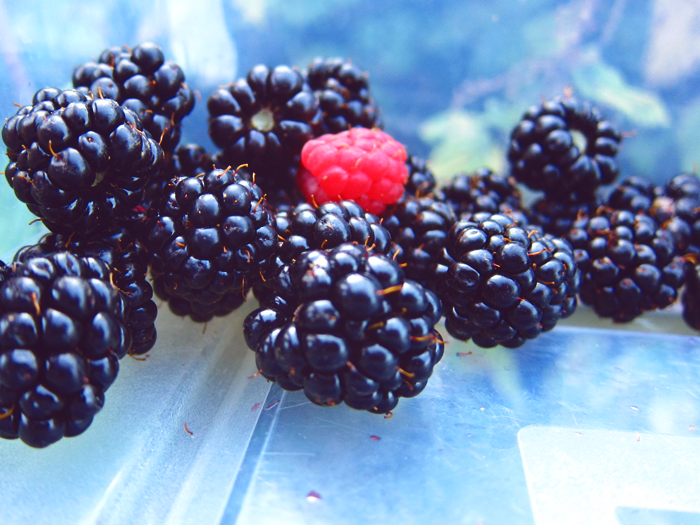
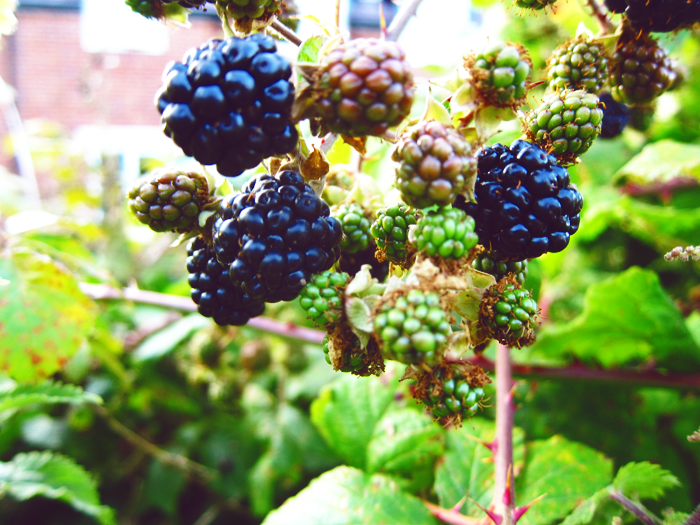
Our last day there was spent picking the last of the blackberries from the hedges there, as well as picking the last of the damsons and digging up the final row of onions. It was kind of sad to say goodbye to it all - but I know there'll be other things that I'll enjoy in the future. I'll post the last photographs I took one day soon, but for now, I'm just sharing these of the blackberries.
Anyway, any ideas on what I can do with all these berries?! I've frozen a bunch already and my mum's already made a few jars of blackberry, apple and damson jelly (which tastes amazing). When my mum and dad are back from their little break, I think I might have a go at making us a blackberry pie, which is something I really enjoy.
Anyone have any suggestions? I'm open to anything and everything! 

Tuesday, August 19, 2014

each peach (pear) plum


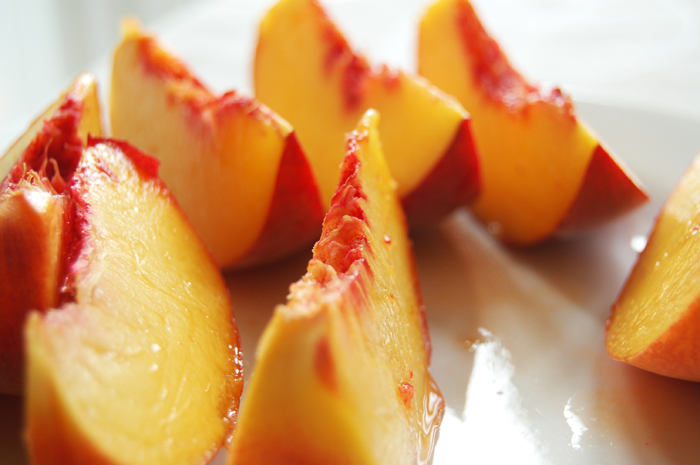
I feel like I've eaten literally pounds of nectarines, peaches and plums this summer. Is it just me or have they been really good this year? Maybe it was all the rain we had earlier in the year, but I've noticed an abundance of them in the shops, and cheap, too. 
I've been putting them in smoothies and salads and just cutting them up and snacking on them whilst I knit or watch TV. They're so sweet that I almost forget I'm eating something relatively healthy - I picked up these giant peaches at Lidl the other day, they were the size of cooking apples and ripened perfectly and snagged a few plums cheap at work after my shift the other day.
Today I popped out to do some errands, and it felt noticeably cooler - like the weather is turning already. I look forward to autumn, and what that brings - but knowing that the summer is getting closer and closer to ending and that means the end of all the lovely cheap fruit in the shops makes me a little sad.
What are you really enjoying eating at the end of the summer? Let me know, and if you have any good recipes for stone-fruit, let me know those too!

Wednesday, July 30, 2014

lemon curd recipe


Me and my friend Amy have an ongoing love affair with lemon curd - she makes the most amazing lemon meringue pie with it, and it's what she often makes when we have lunches and things together. I was thinking recently that I've never actually made it myself. I remember my grandma used to make jars of it when I was little and I never liked it - for reasons I can't really understand why, now. The smell really reminds me of her house and her baking little lemon tarts. My friend Amy is moving out soon anywhere, and I've made her a few little treats for when she does, but I really want to make her some lemon curd, too, so I thought I would give it a trial run. 
The recipe I used was Nigel Slaters (always a favourite!) and I copied it pretty much verbatim, but I'll repost it here anywhere, for ease.
YOU'LL NEED:
- 4 unwaxed lemons, zested and juiced
- 200g sugar
- 100g butter
- 3 eggs
- 1 egg yolk

STEPS:
1. Put the lemon zest, juice, sugar and butter (cut into cubes) into a heatproof bowl over a pan of simmering water, making sure the bottom of the bowl doesn't touch the water.
2. Stir with a whisk from time to time until the butter has melted.
3. Mix the eggs and egg-yolk lightly with a fork, then stir into the lemon mixture.
4. Let the curd cook, stirring regularly for about 10 minutes, until it is thick and custard-like.
5. Remove from the heat and stir occasionally as it cools.
6. Pour into sterilised jars and seal.
There you go, it's pretty simple, but it tastes absolutely amazing. Great for making lemon drizzle cakes, lemon cupcakes, meringue pies or just eating out of the jar with a spoon when you're craving something sugary. Not that I do the last one. Nope. Not at all. 
Please let me know if you try this out, and please show me the photographs!

Tuesday, July 22, 2014

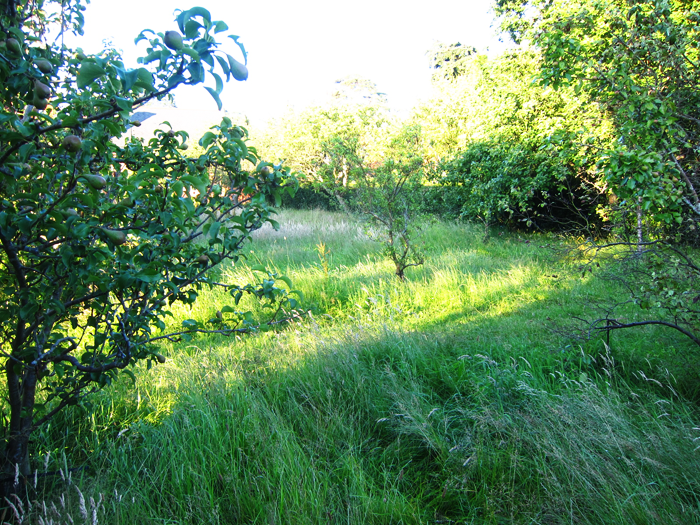
allotment life - orchard edition


I know you're probably so sick of my allotment photos these days - but every time I go down in the evening at the moment with my dad the light is so absolutely perfect as we go in the evening after dinner, I can't not take a bunch of photographs. So I'm sorry, but expect quite a few over the next couple of weeks. 
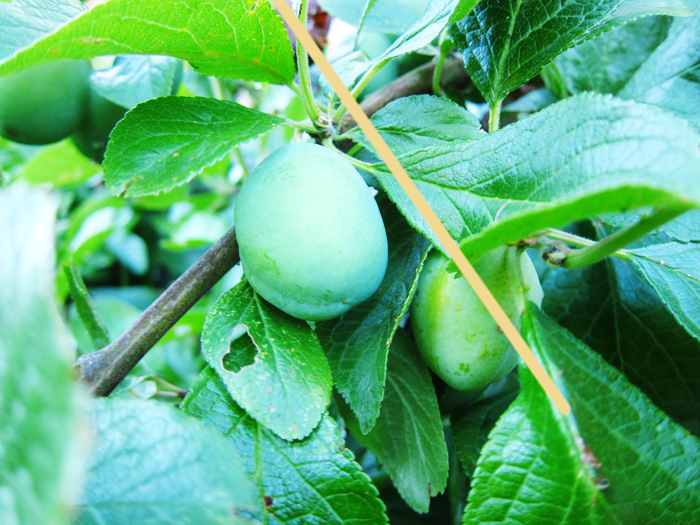
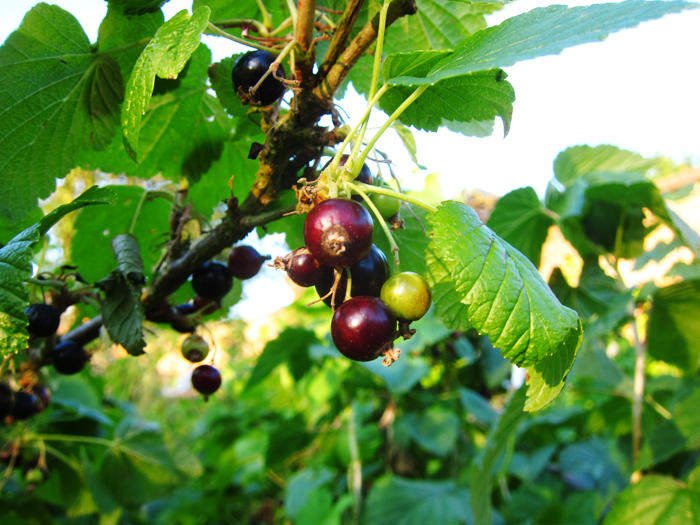
Every trip to the allotment these days is spent avidly checking on those damn plums. They are taking forever to ripen, and I'm just hoping we can get a few before our time there is up (August 31st, it's coming quickly). I think my parents want to get a plum tree in the garden though, so that would be good. Also one of the plots has this amazing crop of blackcurrants and I noticed some deer nibbling at them the other day which made me happy to see (although the owner of the plot is probably less pleased).

Monday, July 21, 2014

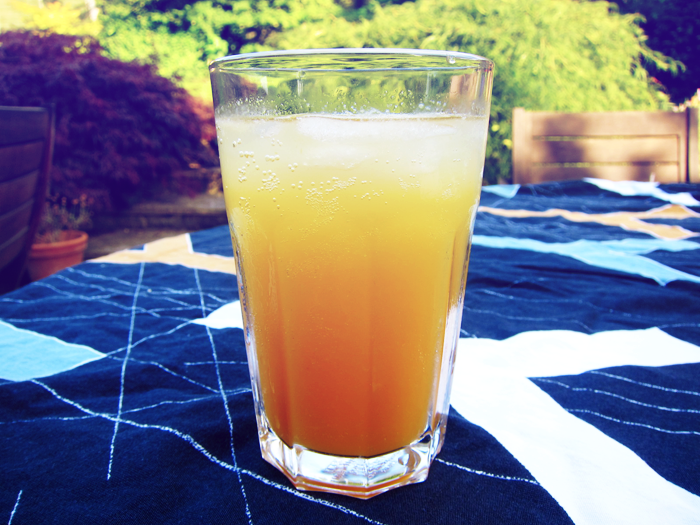
homemade mango and nectarine lemonade


I posted recently about how I'm loving iced drinks recently - particularly last week when I was reaching near critical temperature in the humidity - and I've found a new one to add to my repertoire.
I came across this recipe for peach lemonade in a Waitrose magazine last Thursday and thought I wanted to try it straight away. I love anything lemon flavoured, to the point where it's starting to become a problem because I can literally drink straight lemon juice and it's doing bad things to my stomach... that is not why we're here, though! 
Anyway, it came down to the fact I had no peaches in the house, but I did have some very over-ripe nectarines and a mango that was a bit past it's best. So I went with it... and I am glad that I did. It's so amazing, I thought I'd repost the recipe with my alterations on here, because I made slightly differently.
YOU'LL NEED:
- 1 ripe mango, stoned
- 4-5 ripe nectarines, stoned
- 8 tablespoons of sugar
- 6 unwaxed lemons
- 500ml of boiling water
- 1-2 litres of sparkling water
- Ice and mint, if you're feeling particularly fancy, to serve

STEPS:
1. In a food processor or blender blitz the flesh of the fruit  (with or without skin, it doesn't matter) to a puree, as fine as you can get it.
2. Using a vegetable peeler, peel 6 the lemons - try not to get too much of the white bit, as this tastes bitter. Place in a Pyrex/heatproof jug, along with the juice from all six of the lemons.
3. Add the sugar to the jug, and pour over the 500ml of boiling water. Stir until the sugar has dissolved.
4. Add the fruit puree to the sugar and water combination (you may want to put both in a bigger bowl, I did). Leave to cool down at room temperature.
5. When cool, strain the mixture through a sieve.  Pour into glasses or a single large jug, and add sparkling water to taste. I kept the puree in a separate from the sparkling water, until I wanted to use it, so it wouldn't go flat. 
It tastes really amazing, I highly recommend trying it if you like fruity drinks - I used a lot more lemon than it calls for because of the aforementioned reasons, but you may want to go with the original recipe if you like things sweeter.
Let me know if you try this out...
UA-21892945-2