
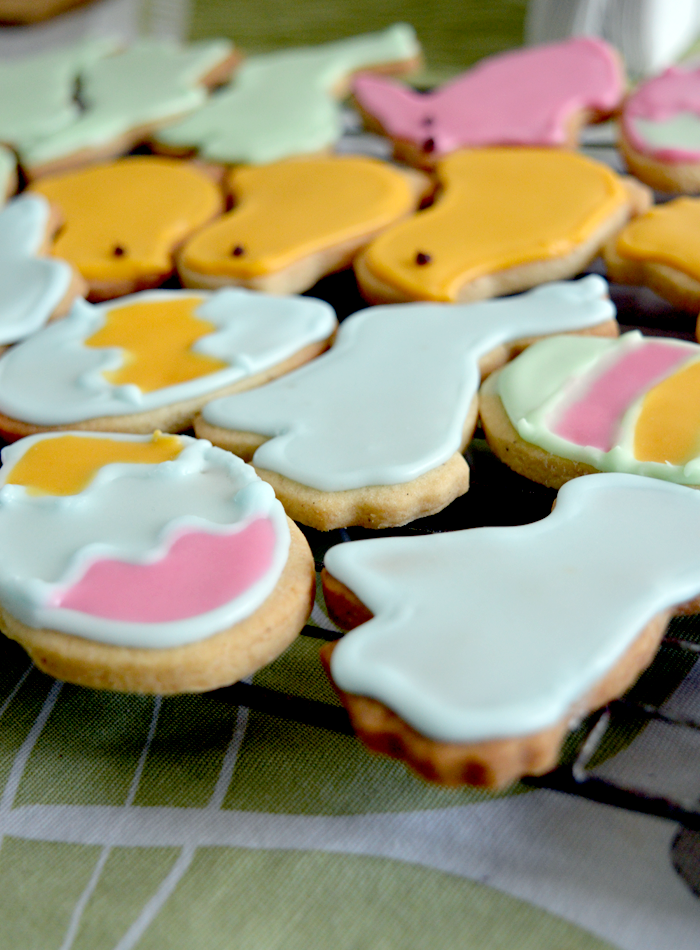
If you're blogger, you should remember to post your content when it's most relevant, really, shouldn't you? Like, who wants a Christmas gift-guide on the 24 December? Anyway, I'm being a shit blogger, because I completely forgot to post my Easter biscuits, and now Easter is almost a month behind us, but hey-ho, I'm showing you them anyway, because they look goddamn adorable, I think.
My mum called me on Good Friday and showed me the biscuits she'd made, asking if she wanted me to help ice them... Who am I to resist?!
My mum called me on Good Friday and showed me the biscuits she'd made, asking if she wanted me to help ice them... Who am I to resist?!
The recipe for the biscuits itself, I can take no credit for - my mother made them, and I only iced them! But she reliable informed me that the recipe she used was this one from The Pink Whisk and they tasted amazing when baked to perfection. She also tells me that she used vanilla powder in place of vanilla essence!
INGREDIENTS AND EQUIPMENT:
- 1 pack of Royal Icing or Icing Sugar
- Water at room temperature
- Several piping bags (or sandwich/food bags if you're cheap like me haha)
- Several small bowls and teaspoons
- Food colouring
- Cocktail sticks
1. Mix the icing to the instructions on the packet, depending on what brand you use, most of them will tell you how much water to add to the icing sugar. We measured out the water and then added it until I got the consistency I wanted. At this point, you want the icing to be quite thick, thick enough that you can pipe it and it will hold it's shape.
2. Split the mixture between bowls evenly, and add the colouring. For pastel colours, add a very small amount of the colouring, and mix well.
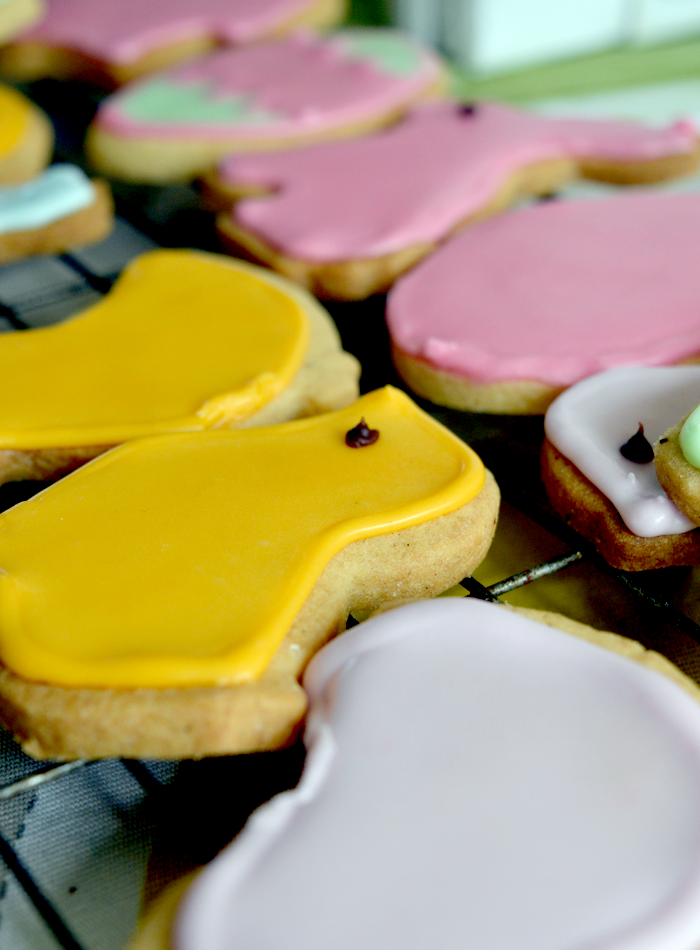
3. Spoon some of the thick icing into the piping bags (leaving some for flooding the biscuits) and pipe around the edge of the the biscuit shape to create an outline. For shapes like the eggs, pipe the desired design (like stripes or zig-zags).
4. Set aside and allow this outline to dry until solid and hard.
5. Add more water to the remaining icing in the bowls to create a more liquid consistency, it should run off the spoon with ease.
6. Using small teaspoons, add a small amount of the runny icing inside the outline you've already made.
7. To move the icing into the corners of the shape, tilt the biscuits or gently move with the back of a teaspoon. This is also where the cocktail sticks come in useful, to push the icing into awkward corners and to get rid of air-bubbles.
8. Allow to dry until completely hard.
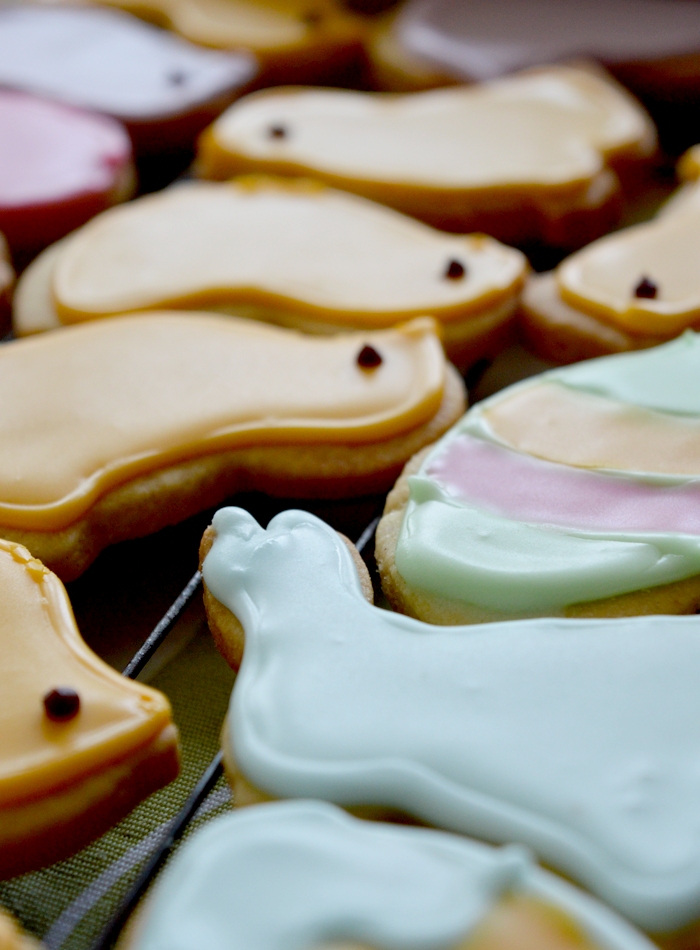
These went down an absolute treat in our house, I must say! And there was not one child in sight, haha, but I imagine they would go down very well with kids. I think the yellow chicks and the blue bunnies were my favourites, and if you're interested, we got the biscuit cutters from Waitrose, they do a great selection of seasonal ones for Easter, Halloween, Christmas, etc.
Have you got a favourite biscuit recipe you go for?
- recipes -

Ooh wow they're so cute! They turned out really well.
ReplyDelete