
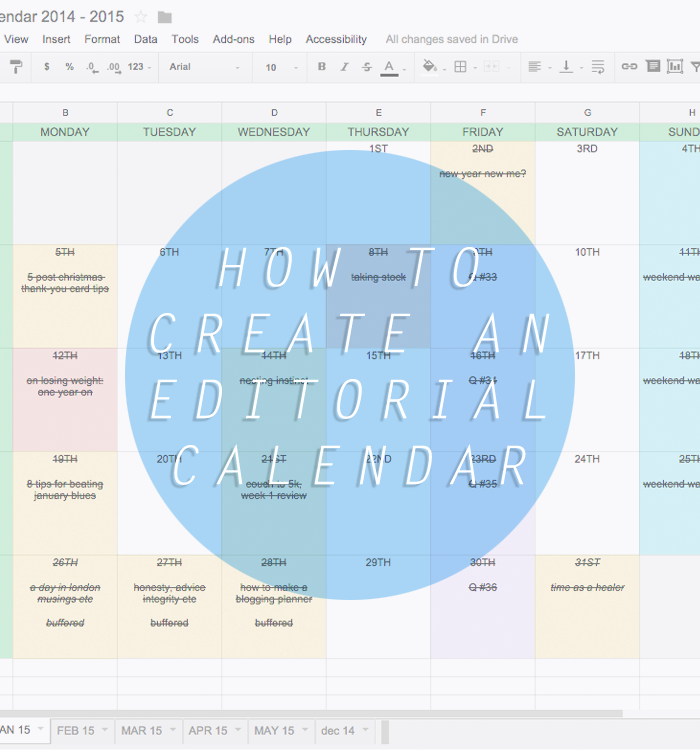
I've wanted to talk about how to create an editorial calendar for blogging for the longest time, because it's really changed how I plan blog posts, how I schedule content and keep myself organised in general.
I mentioned last week how I love to use a little handwritten planner to keep track of things I want to do, ideas that spring to mind, or content that I need to write, and I do really love that method for the creative side of things. However, once the copy is written, photos are taken, and posts are are ready to be published, I like to bring my up editorial calendar to have a look at when I'll post.
There are so many ways out there to create an editorial calendar, from traditional diaries, printables, and even apps like CoSchedule, but I prefer this method, which I had sort of attempted doing before I found the lovely Gillian' tutorial over at Elevator Musik for how to set this up properly and a lot of this post is inspired by hers, so please go check it out, it's all much prettier than mine! I've been using this for blogging since May 2014, and it's been so brilliant! The amount of posts I wrote in 2014 tripled from 2013, and I think this is in part to getting organised. Some of this organisation may seem like over-kill for something that is a hobby of mine, but I enjoy getting myself organised!
GET YOUR SPREADSHEET SET UP
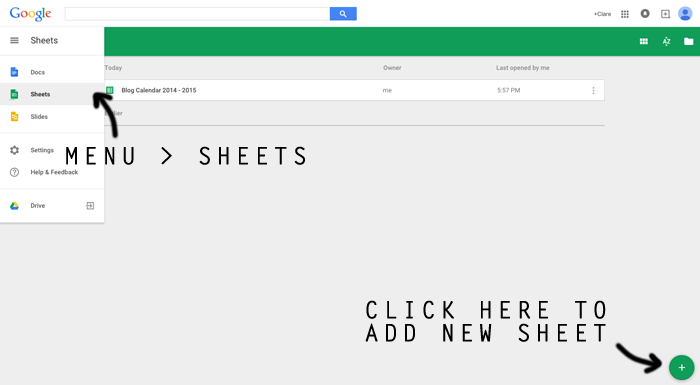
You can use any format you like, obviously, but I love to use my Google Drive for my calendar, as it's accessible from anywhere, saves automatically, and is just really easy to bring up when I'm blogging, as I have it bookmarked on my toolbar. Go to your Google Docs, and from the drop down menu at the side, select Sheets, then press the green cross in the bottom corner to bring up a new spreadsheet - it's pretty much as easy as that. Name it something obvious, that you can find, like Blog Calendar 2015, then you're ready...
MAKE IT LOOK PRETTY
This is the fun bit, you can make this look like whatever you like. I copied Gillian's format for this, in having the days across the top, and then Week 1-5 down the left hand side. I made it match my blog colours/font, cause I'm ridiculous like that, simply put. You can make all your cells the same size, highlight all the columns/rows you want, then right click and select Resize columns, and enter a defined value for them. You can use the colour picker to select a colour that suits your blog, and make the font match and all sorts.
At the bottom (which I annoyingly cut off in these images, but you can see in my main image, at the top of the post) you can see that I created tabs for each month, and I fill in the dates manually using the calendar on my phone or laptop.
At the bottom (which I annoyingly cut off in these images, but you can see in my main image, at the top of the post) you can see that I created tabs for each month, and I fill in the dates manually using the calendar on my phone or laptop.
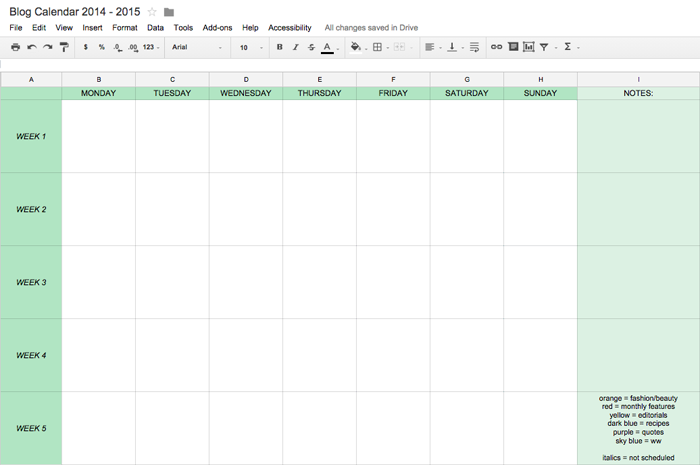
FIGURE OUT A SYSTEM YOU'LL USE
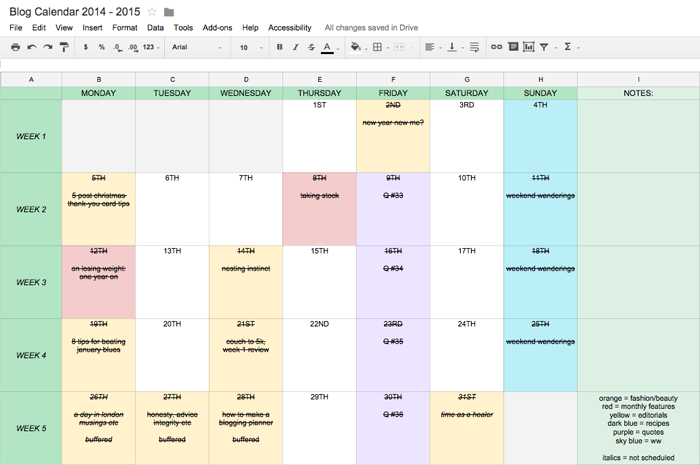
Like with my blog planner, it takes using the calendar to find out how to make it work for you. I set myself up with a key, using different coloured highlighted squares to figure out how to plan my content. For example, you can see that his month I didn't post any recipes because I was posting other kind of content that I enjoyed writing, so it's all sort of swings and roundabouts. I have regular features on Friday and Sunday, so I fill those columns in ahead of time, as I know that they'll be frequent features. You can see that the beginning of January was a bit all over the place, because I was getting back into the swing of things, post-Christmas, but it really does help me stick to my posting schedule. When I've scheduled a post, I strikethrough the whole box, and it makes me like I've accomplished something!
SOME EXTRA TIPS:
- I like to be able to see the last month, to compare the kind of content I've posted, but anything before that clutters up my workspace. Right click on the old page tab at the bottom of the page and select hide sheet. To view the sheet again, select View > View Hidden Sheets... From the toolbar, and you'll have access to them all again.
- I used the Notes column more frequently untilI set up my blog planner, but I like to still have there, just in case I need to add comments or reminders to myself, and I haven't got my planner to hand.
- I've recently started adding the 'buffered' comment to my calendar, to remind me that I need to scheduled tweets for that post, also.
- I use italics to add in posts that I write, that are 'last minute' additions. They're ones that I haven't planned on posting necessarily, they're written then and there and published on the spot.
- I highlight boxes bright red, as opposed to their corresponding colour, if I know I haven't yet completed everything for that certain post, and it reminds me that the post needs something doing for it!
- I like to stay about one-week ahead of schedule, so I have some time to write some posts if I feel like I'm short on content that week. You can see that like 95% of my content is scheduled, and I know from recent Twitter chats that some people have a problem with that, but I don't see how it make a damn bit of difference! haha
And there we go, hopefully this helps a little bit! There are hundreds of ways out there to make an editorial calendar work for you, though - if this doesn't float your boat, try looking on Pinterest for inspiration, or turn your hand to making your own.
Do you use an editorial calendar? Share how it helps you in the comments below, I love finding out new things!
No comments:
Post a Comment
I love getting comments and receiving them, and I will always reply to them, even if it takes me a little while, please be patient!